Unpack Garmin GAP-20 Heated Pitot. I decided to go with the plain heated pitot over the regulated heat pitot. There is no difference in the pitot tube between the heated and the regulated heat versions. The difference is that the regulated heat version has a control box and a discete output for the Garmin EFIS. This output gives the EFIS the ability to annunciate when the pitot is on and the temperature range that the tube is in. I plan on having an indicator to annuciate if the tube is not powered.
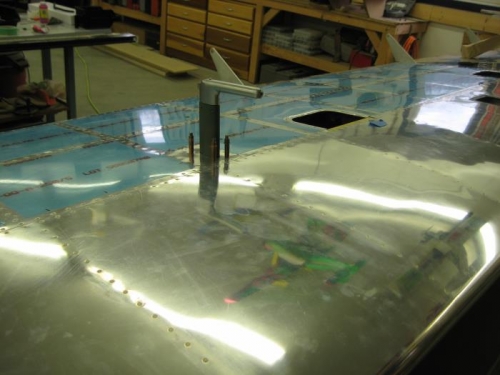
Temporarily install pitot mast in wing.
Plan pitot tube plumbing.
Remove section of AOA tube from pitot. The GRT avionics does not require this input for AOA calculation. Enough of the tube remains to connect it in the future if necessary.
Bend and clock pitot aluminum tube.
Install B nut and sleeve on aluminum tube.
Flare tube using double flare tool.
Install AN flare fitting to push lock fitting using permatex #2 sealant.
Install pitot tube in mast, check fit and plumbing routes.
Install tywrap mounts,
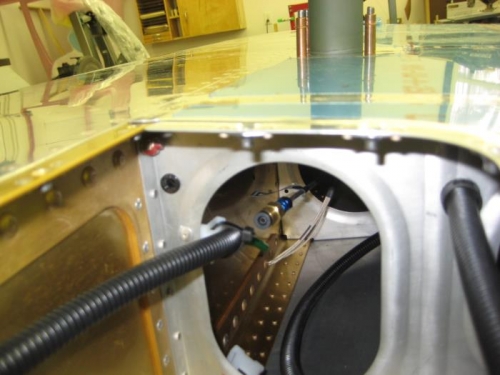
Install nylon corrugated tube over section of plastic pitot tube line for additional protection from aileron bellcrank mount and tywrap mounts.
Tywrap corrugated tube to mounts, verify that no interference with the aileron bellcrank exists.
Temporarily connect pitot tube to plastic line.
Remove plastic line from fitting, remove pitot tube and mast.