
|

|
|
|
Bobs Ten
|
Date: 10-12-2019
|
Number of Hours: 4.00
|
Manual Reference:
|
Brief Description: Install Instrument Panel
|
|
1300 - 1518 1630 - 1800
Continue with instrument panel install.
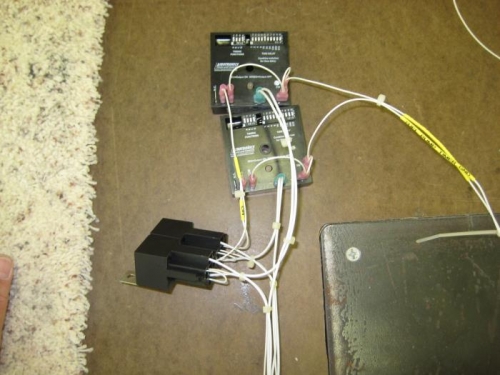
First up today was wiring the timer relays for the aux fuel pumps. The reason for this is twofold. First, it eliminates the necessity ot manually time the fuel transfer. Second, it automatically shuts off the pump at a predetermined time to prevent the pump from running dry. This took some thought as to the integration into the wiring harness but the result was worth it. These programmable timer relays have multiple functions but I decided on the interval program. I also wanted an indicator of the pump status, whether on or off.
The timer relay wiring was finalized and fabricated. Once the wiring was installed, I connected the timer relay assembly to the bi-color LEDs and a bench power supply. I set the timer to 16 seconds and applied power. The assembly was verified to operate as intended.
The logic for the aux pumps is as follows:
Burn from the left main tank for an hour.
If aux fuel is present, select the aux pump switch to "Left". This will power the timer relay and begin the countdown. This countdown time is programmable and will be determined in testing. It should take about 25 minutes to pump the tank dry. The LED indicator will turn green to indicate there is power to the pump.
After 25 minutes, the relay will de-energize and power will be removed from the pump. The LED indicator will turn red to indicate there is no power to the pump.
When the red LED is illuminated, the aux fuel pump switch can be moved to the center OFF position. The LED indicator will go out.
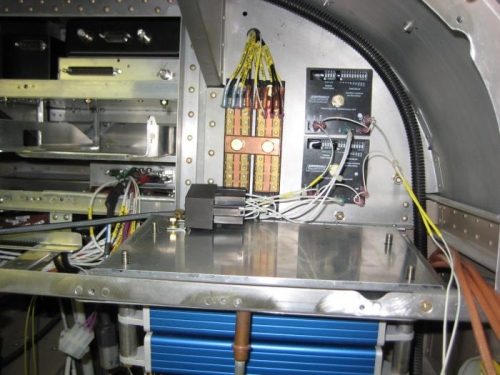
Once the relays were wired, they were mounted to the sub panel using AN4 hardware and nut plates. AN4 hardware was used as the mounting hole was 1/4".
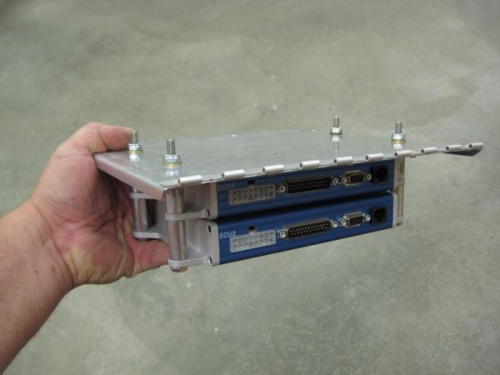
Next, a secondary tray was fabricated to mount on the ECU mounting bolts. I did this to prevent the ECUs from being removed if additional equipment was added to the rack shelf, in this case two relays. If additional equipment needs to be installed, the secondary shelf is easily removed by four locknuts
|
|
|
|
|
|
|
|
|
|
|
|
|
|
|
Copyright © 2001-2024 Matronics. All Rights Reserved.
|