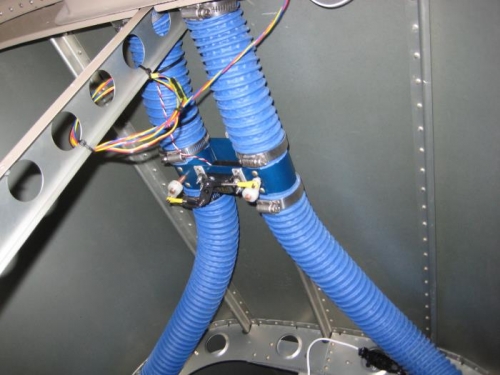
Install vent tubing. The rough lengths were installed on the NACA vents previously. The vent valve was secured to its mount using SS Torx head screws. The vent tubing was cut to length and attached to the vent valve using breese clamps.
Next, two short lengths of tubing were cut and installed between the vent valve and the overhead console flanges. Tubing was secured with Breese clamps.
In an effort to prevent magnetic anomalies near the magnetometer, the vent tubing was sourced with a plastic spiral instead of steel.
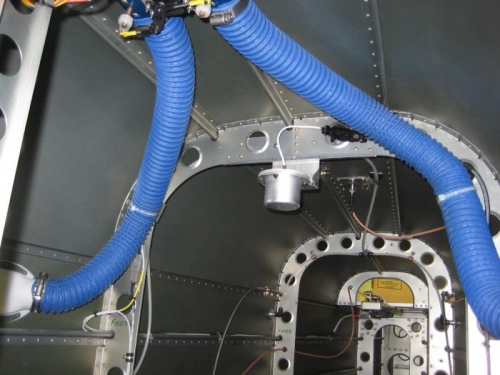
The remainder of the time was used to install auxillary wiring, specifically, an RG400 cable with bulkhead connector and a generic twisted 20 AWG 7 wire. The RG400 can be used for video feed and the 7 wire is for any particular future project.
The RG400 was routed to behing the instrument panel such that it can be connected to the GDUs.
The 7 wire was routed under the seat base. The purpose of routing these wires NOW versus later is that the side panels need to be removed to facilitate this. It is much easier to do now than later, and with the side panels in place, there is no way to route any additional wires to or from the wings. Routing the 7 wire beneath the seat base allows the wires to remain out of the way yet easily accessible for future projects.