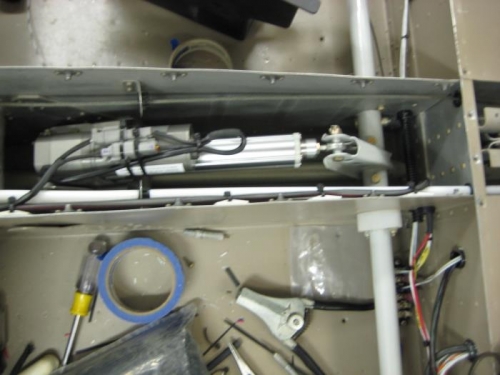
The first task was to isolate the rudder cable within the tunnel. This was accomplished using a piece of PTFE tubing with a 7/16" OD. This was chosen because it fits inside the existing snap bushings. The tube was slit lengthwise with a razor knife to facilitate installation over the rudder cable. It was then passed through three snap bushing on the left side of the tunnel wall. This tube will eliminate any chance of the rudder cable chafing the wiring that is being installed in the tunnel.
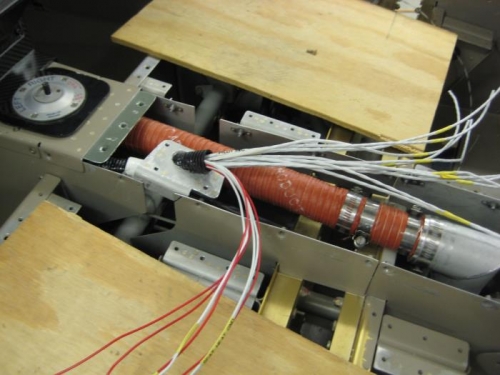
Routed and connected wiring for seat heat power, seat heat ground, and USB ground. All of the grounds were connected to the mid ground located beneath the flap torque tube. Wiring was organized using tech flex for anti chafe. Wiring was then passed through the tunnel cover double/guide.
Next the flap wiring was completed. I had planned on using the DTM connectors but the flap current draw will likely be at the connector pin max. For this reason, I used a DT connector, which has a 13 amp rating, for the two flap motor wires. A DTM Deutsch connector was used for position sensor wiring.
The connectors were then tie wrapped to the flap motor, a service loop was installed.