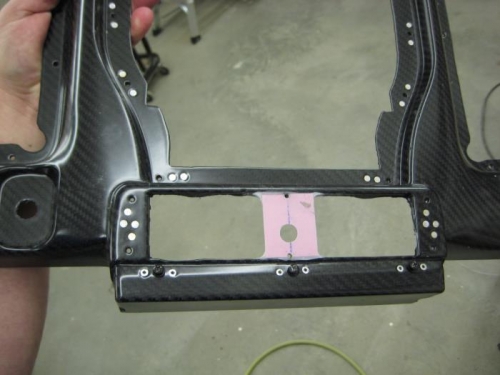
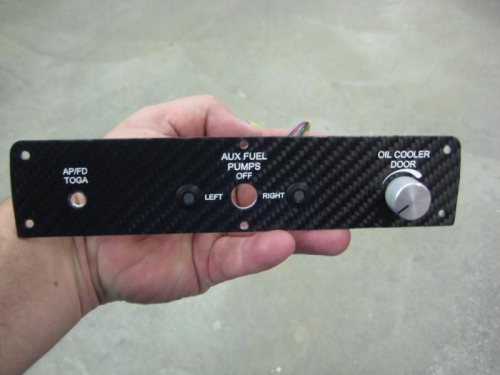
Work was accomplished today on the Aerosport Panel center lower insert.
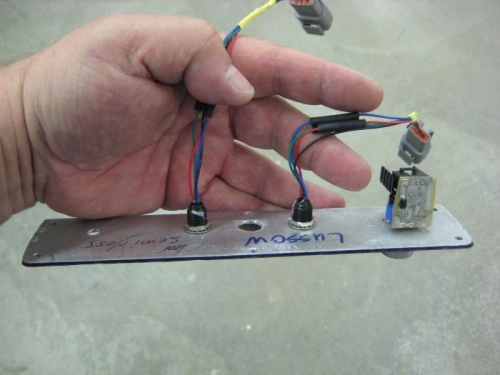
Remove aux fuel pump select switch, labeling all wires.
I found an issue, that I did not like, with the locking select switch. The problem is that it takes a reasonable amount of force to lift the switch lever out of its center lock position. This force caused the insert to bow when the switch was activated. This was unsatisfactory, so using a scrap of fiberglass, I epoxied a center brace in place. Two screw holes were drilled in the insert.
When the epoxy was cured, matching holes were drilled and tapped for screws. In hindsight, the screws are really unnecessary ans the center brace provides sufficient rigidity.
Next, I rewired the LED indicators. This was necessary because the six pin connector would not allow installation of the wiring around the brace. The six pin connector was disassembled and reassemble using two three pin connectors...problem solved. Deutsch connector are wonderful.
The insert was then installed and switch operation verified. No deflection of the insert was noted.
Next I installed the oil cooler butterfly valve controller. The opening of the Aerosprt panel required a small enlargement. Anti rotation pits were drilled in the back of the insert to prevent rotation of the pot. The Periheliondesign.com controller was then secured in the insert. The knob was clocked and installed.
Wiring the five pin plug was then completed using #22 wire. The sockets included with the controller were crimped on the control wires as well as the input power and ground.
The controller was then powered with a 12v source and the operation of the valve was verified. A few small adjusments to the controller fine tuned to end point and sweep of the valve.