Unlike the windows, the windshield had not been prepped previously for install.
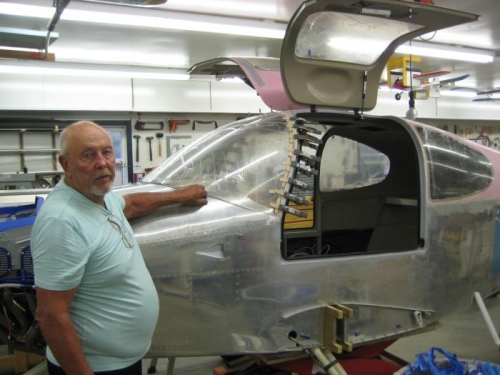
Install windshield, determine best fit and mark cut lines. We had to make one minor trim cut and all other fit adjustments were made using permagrit tools.
Several iterations were required to obtain a best fit.
Once the fit was achieved, we rounded and smoothed all of the edges with 320 s/p.
The windshield was then masked for the bonding surface.
The exterior was then masked to prevent excess adhesive from coming in contact with it.
The interior windshield frame was masked.
Apply poster board to top fuselage surface. This poster board will be used to make the glare shield pattern.
Once the poster board was positioned and taped down, interior edges were marked as well as the hand hold and fan locations. The windshield was then installed over the poster board. Using a sharpie marker, the edge of the windshield was traced on the poster board.
Remove windshield.
Remove poster board from fuselage. Te poster board pattern was the cut with an exacto knife and rolling cutter. The finished pattern was reinstalled to verify fit. All edges and openings match the fuselage top. The windshield was reinstalled to verify pattern fit along the bottom edge.
Remove windshield and pattern.
Clean all surfaces in preparation for bonding.
Using previously detailed techniques, the windshield was bonded to the cabin top. The clamps will remain until full cure is achieved.
The lower windshield aluminum fairing was test fit at this time. This fairing was obtained through MLskunkworks.com.