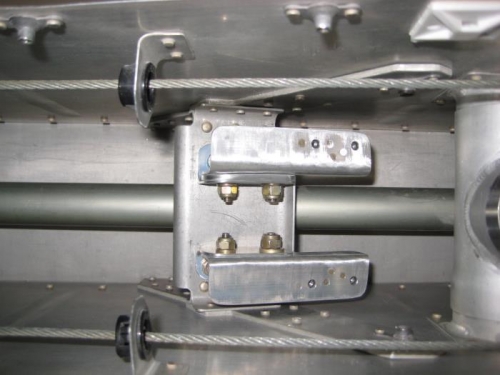
Today, I removed the new flap actuaotr due to interference. I took this opportunity to radius and relieve the top of the mounting angles and remove 1/8" from the top edge of the lower mount angles. This allows satisfactory clearance between the actuator housing and the mounting angles.
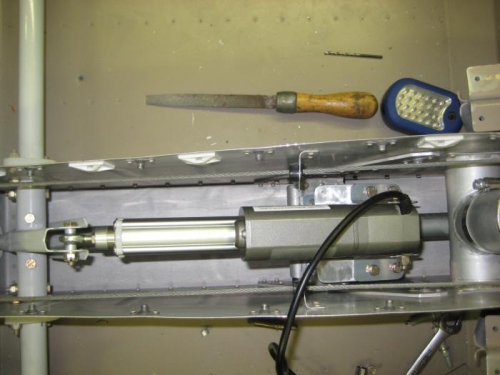
The actuator mounts and actuator were reinstalled and check for operation and full range of motion. I found that there was still minor binding on the actuator between 95 and 100 percent of the stroke. This interference was found to be between the actuator rod aluminum cap and the flap bellcrank. The solution was to extend the rod end bearing approximately 1/4". I also opted to dress the aluminum cap to provide additional clearance without additional change to the rod end bearing. The new retract end point of the torque tube will be compensated for when the flaps are installed.
Overall, a nice, clean installation. The new actuator is of high quality and is very smooth running and quiet. Couple that with the elimination of the external flap position sensor, I think the upgrade was well worth the effort. Also, the new actuator is substantially less expensive than the stock one provided by Van's.
I am now going to remove the external position sensor.