Most of the afternoon was dedicated to cleaning up the shop from all of the fiberglass work.
Raise aircraft to allow access to bottom of fairings.
Scribe around tire at a nominal 3/4" to provide clearance for tire and fairing. Van's recommends 5/8" but after discussing with numerous owners, I decided on 3/4".
Repeat for main gear.
Lower aircraft to ground.
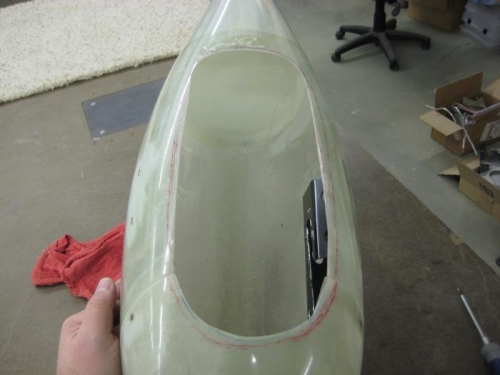
Remove nose gear pant.
Join forward and aft fairing using recommended hardware.
Using a properly sized plastic lid, mark a uniform line using scribe lines as reference.
Using dremel tool, drum sander, and permagrit tools, relieve fairing to line.
Using s/p, smooth all edges.
Disassemlbe fairing.
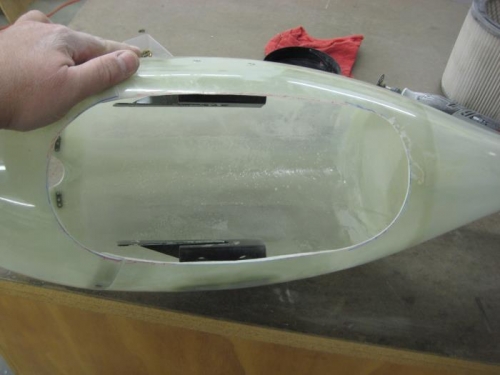
There were two areas that needed to be built up at the bottom of the joggle between forward and aft fairings. The forward fairing was taped with packing tape to prevent bonding and an epoxy/milled glass/cabo mixture was applied to the aft fairing joggle. The forward fairing was then attached to the aft fairing using recommended hardware. Excess epoxy was then removed.
Temporary index holes in the nose gear leg fairing were filled with the epoxy mix.