Remove tamporary screws holding gas strut bracket in place.
Remove bracket, remove packing tape from bracket.
Chase threads in bracket with 10-32 tap.
Machine c-sink bracket mounting holes.
Install bracket with AN509 screws.
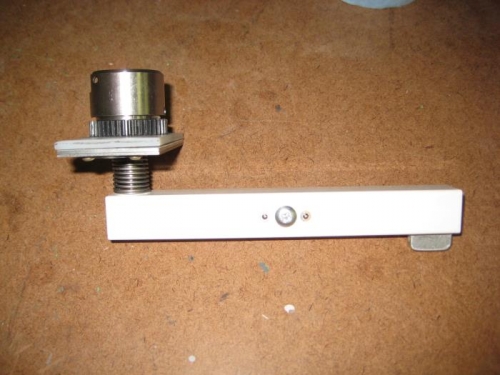
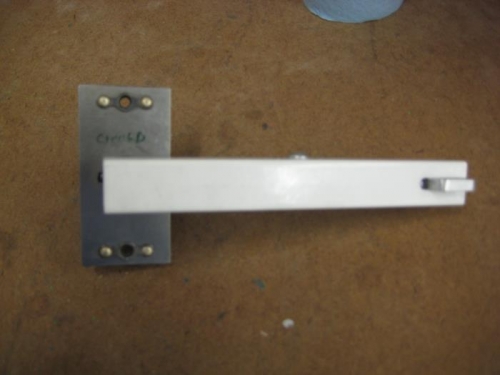
Begin installing door latch and handle assemblies. This is going to be slow going as I am using the Aerosport handles and planearound third latch. I began by modifying the door handles and slide per the aerosport instructions, remove required amount, deburring and polishing the edges. As recommended in some of the forums, I chamfered the edge of the roll pin to ease installation. The handles assembly was then put together per the aerosport instructions. I needed to enlarge one side of the locking plate per the planearound instructions to prevent the handle fron locking in both the open and closed position. It will now lock only in the closed position.
Next was drilling the door for the handle assembly. This was accomplished per the aerosport instructions. I ran into a small issue with the locks that I had purchased. The lock appears to be about 1/16" too tall and the trim ring will not sit flush. I have contacted aerosport and expect a reply tomorrow. I am fairly certain that I can relieve the trim ring to accomodate the lock.
Now that I know how it goes together, the other door will go much quicker.