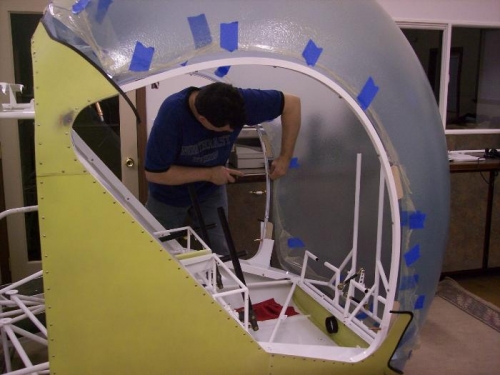
Just as I was about to install the bubble, I found that I had failed to topcoat the inside of the cap strip that spans the area between the eyebrow panels. Once the bubble is installed it is not accessible. This gave me a chance to use a special touch up gun I bought from Aircraft Tool Supply for under $20.00. The gun uses the venturi principle to draw paint out of a small disposable 35mm film canister. There is minimal clean up required and the gun is very easy to use. I found that with the thicker bodied polyurethanes, about 40 psi worked the best with a light touch on the trigger. After wrestling the bubble for the better part of an hour without gettting a decent fit, I found that if I removed the door frames from the bubble sides it lined up a lot better. I simply let the top of the bubble hang from the two center clips and let the bottom rest on the body panels. I then attached the bubble door frames to each side of the cabin. You can then slide the bubble to the left or right to get it positioned evenly in the frames. Once it's positioned, the clips can be installed securing the bubble to the door frames.