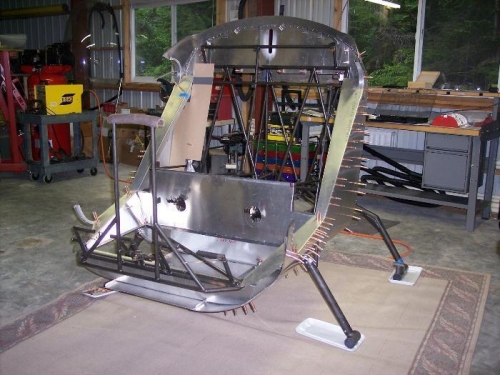
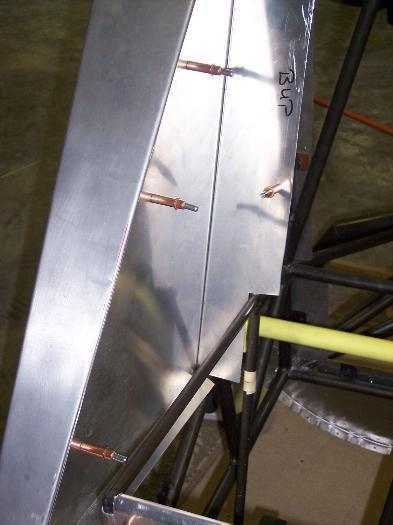
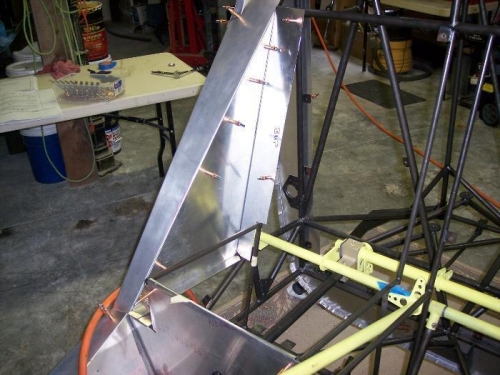
I finished making both the kick panels. I'm very satisfied at the fit. I was able to form a flange at the bottom of the kick panels that slips underneath the floor pan. After adding fastener locations in the floor panel and along the edge of the door sill, the kick panels really seemed to stiffen up the lower cabin. Upon final installation I'll be using a corrosion inhibiting sealant at all panel seams to help prevent water from getting beneath the floor panels from snowy, wet boots, etc.I had to remove the bubble and the left side fusage panel to facilitate fabrication and installation of the right side interior panel. I also re-installed the controls so I could check the full range of collective movement for when I fab the rest of the seat panels. I'm finally starting to get the hang to using the air powered shears and the bending brake. I strongly suggest that the builder make templates from cardboard prior to cutting any metal. The time it takes to make and test the fit is nothing compared to having to remake a part. If I reverse the template, it appears that it will work for the opposite side panel with just a few mods for the pilots collective clearance.