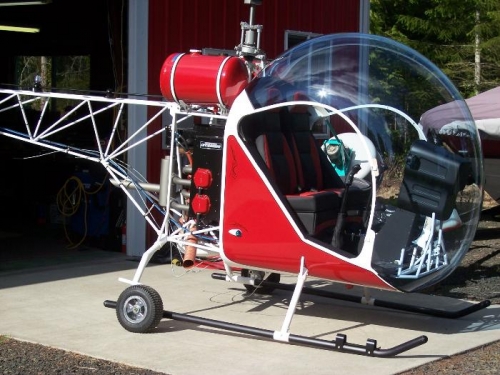
Wrestling the bubble is never much fun. You'll find that you have to install it several times throughout the construction process. I found it easiest to sit the "top" of the bubble in the two center attach brackets and then just let it rest on the belly pan while it was positioned to the forward bottom clips.
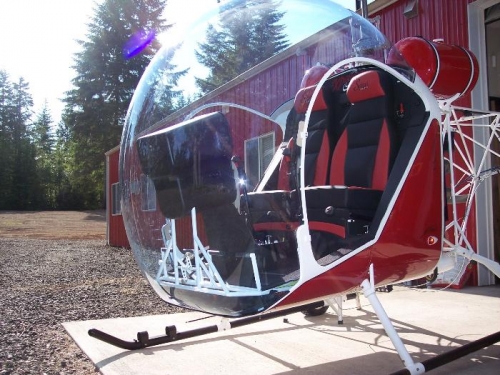
The two outboard clips on the bottom were the toughest to get access to once the interior was installed. With the wife's assistance and a few lengths of bent welding wire, we were able to get the clips up onto the bubble edge strip and secured.
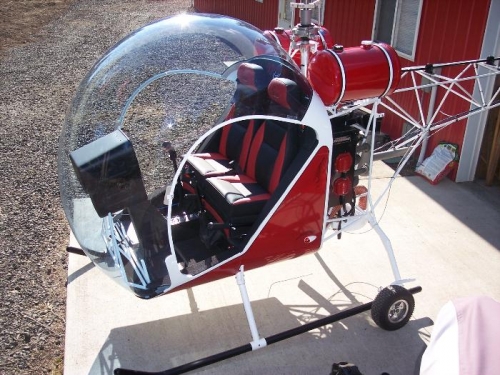
I nearly had to remove the fuel tanks to get to the screw heads on some of the clips behind the headboard. By grinding down a #2 screw bit and using a racheting box-end wrench this was avoided.
The bubble seems quite flimsy prior to being installed and fastened down. Once attached it is a sturdy unit. Hopefully it's on now to stay.