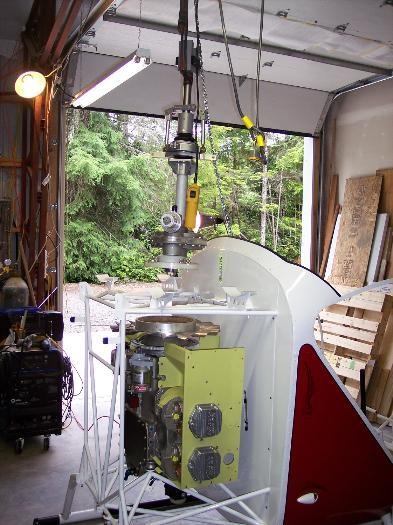
After bolting down the engine and making sure that it was level, it was time to install the gearbox. It works best if you have a hoist to help handle the assembly. It's a lot heavier than it looks.
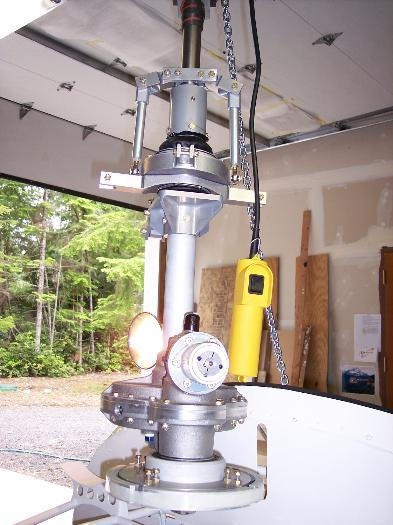
The transmission does not just drop into the mounts. At the bottom of the gearbox there is a bearing that fits quite snuggly into a boss in the center of the clutch drum/fan assembly. The transmission will not fit flush with the mounting pads until the bearing is seated into the boss. It is important that the transmission is not tilted when you start tightening it down. You run the risk of galling the aluminum boss.
I used clamps at the mount locations and alternately tightened them to help press this bearing down. After you gain an inch or so you can insert the bolts and tighten them to help seat the bearing. Just make sure that you install the front mount bolt before you start cinching down the gearbox or you will need to remove it to put the bolt in (don't ask how I know this).
Even with the bolts tightened to the proper torque, you may notice (use an inspection mirror and a good flash light) that the bearing is not completely seated flush into the boss. I was told by the factory that after the first run up it should become fully seated. After your first hover, it may be a good idea to check this and also the engine mounts. I've been told that they can settle a little and you may need to use washers to shim the engine back to level again.