My next step in the process of modifying my nose bowl is to create a mold to I can shape the new opening while still matching the sections of the opening I want to retain.
To accomplish this, I started by attaching the nose bowl together with screws placing the heads of the screws inside the nose bowl. I then closed off all openings with aluminum tape and applied a layer of vaseline to the entire inner sufaces of the nose bowl and placed the nose bowl on top of a sheet of plastic on my work bench.
The foam I used was a 2-part expanding foam that was sufficient for 2 cubic feet. I did not try to measure the volume of the nose cowl and actually thought I would need more than 2 cubic feet... I was wrong.
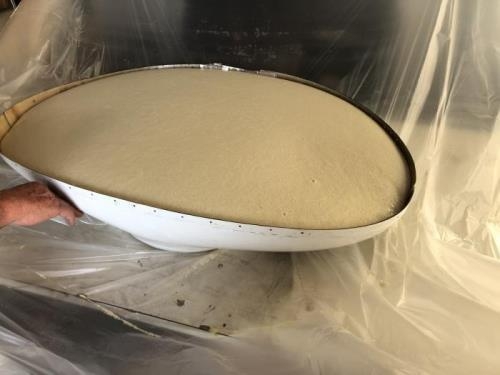
As the foam expanded, it quickly became evident the foam would expand above the edges of the nose bowl. I did not want the foam to overflow so we pulled the plastic sheet up above the nose bowl and forced the foam upwards into somewhat of an ice cream cone shape.
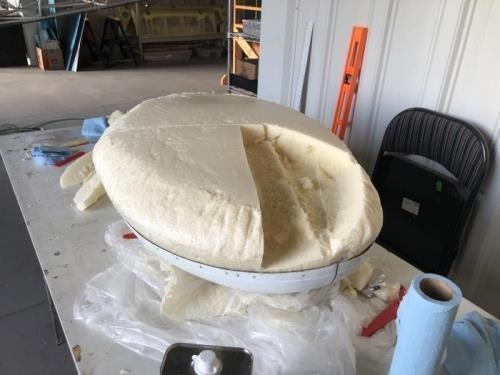
After the foam cooled, we started to remove it from the nose bowl but soon realized our efforts were in vain. The foam was pretty well stuck to the nose bowl and I started to get concerned we would damage the nose bowl in our attempts to remove the foam. It was clear that our use of vaseline was insuffiecent and/or the wrong product to permit the release of the foam from the mold.
At this point I declared this excercise a complete failure and will cutout the foam, clean the nose bowl, and apply actual mold release rather than vaseline.