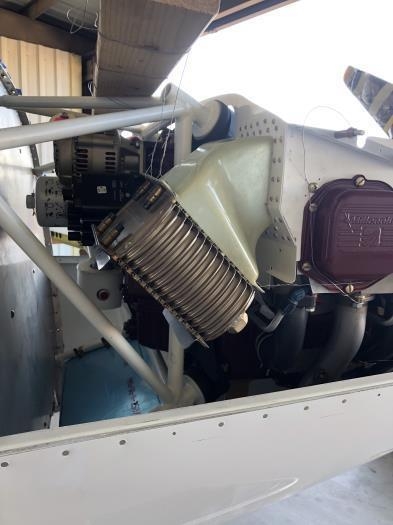
After trimming the shroud to fit the cooler I drilled the shroud mount holes. This was followed by trimming the shroud where it will mate to the baffles. The shroud is designed to touch the baffles and uses a rubber seal at the point of contact to seal the area while still permitting movement between the shroud and the baffle.
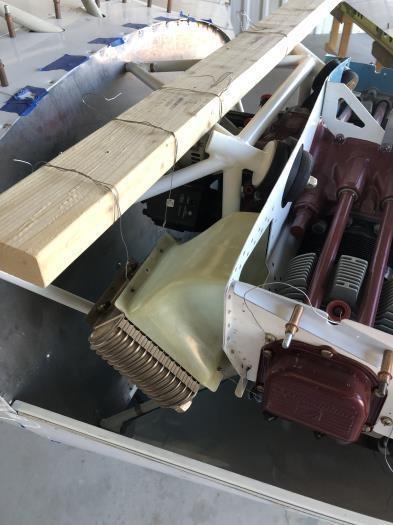
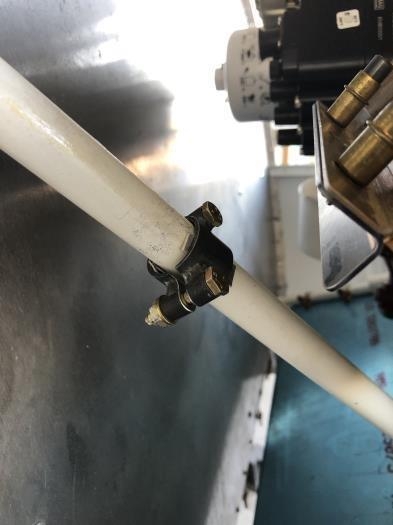
I placed a 2x4 across the top of the engine mount as a support and from that used lockwire to hang the cooler/shroud combination into position. My next step was to place the clamps onto the engine mount tube but as they are cushioned with rubber sleeves, I replaced the rubber sleeve with aluminum shims to prevent damage to the rubber when I tack-weld the arms to the clamps.
The shims were simply two strips of 0.032" folded over and inserted between each clamp half and the engine mount.
Support used to hang cooler for positioning
Cooler located in position
Clamp with aluminum shim to simulate rubber sleeve