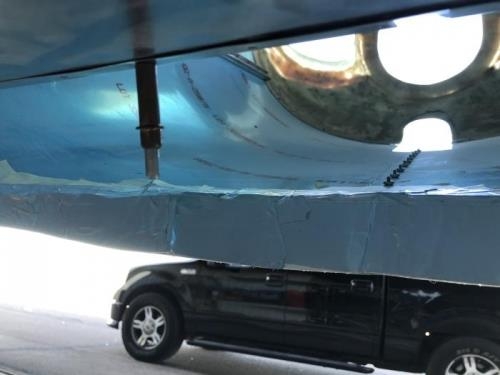
Today I had been cleaning up the hanger and I did the "squirrel!" thing... instead of continuing with the upper nose cowl I decided to tackle the exit air dam located at the bottom of the engine cowling.
I did not really want to start sanding on the upper cowl as I did not have that much time so I decided to figure out how to make a pattern/mold so I could fabricate the air dam out of fiberglass.
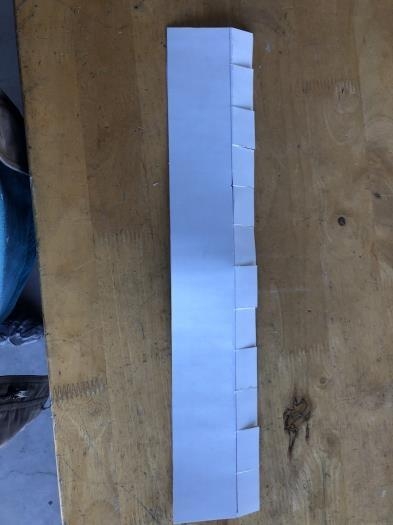
I started by cutting some posterboard into a 3" length then cut 1" deep tabs down one side. I started to tape this into place inside the cowl with the 2" section hanging down outside the cowling but found I need to trim the corners to obtain a neater look as well as cut slits into this "outer" section to eliminate bowing.
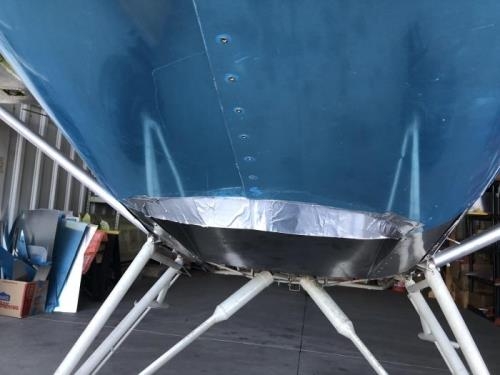
After it started to look decent I covered the inside and outside with aluminum tape to stiffen up the shape. The surface is still too rough to lay fiberglass on but I do a little more work to fix that issue.
I measured the angle of the exit dam and it came to 40 degrees down from the bottom of the cowl.
I plan to make this piece out of fiberglass and later attach it to the cowling with solid rivets.