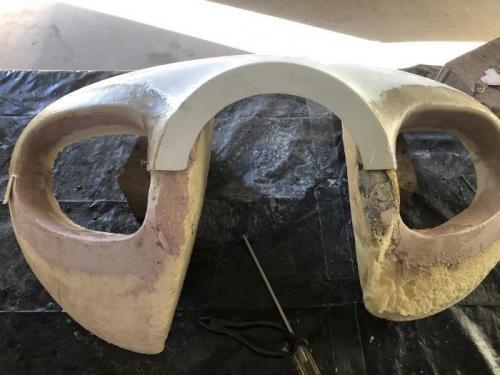
I began to lay up the openings on the upper cowl. The first image shows the cowl with the plugs in place but after I had applied the initial layer on the outside.
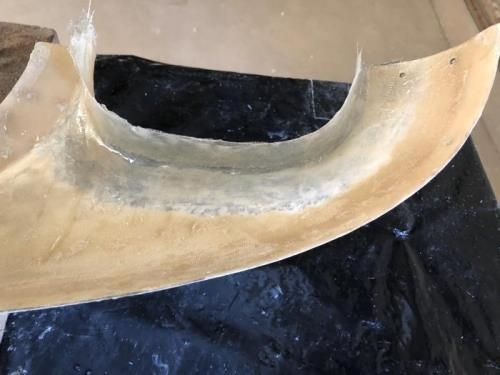
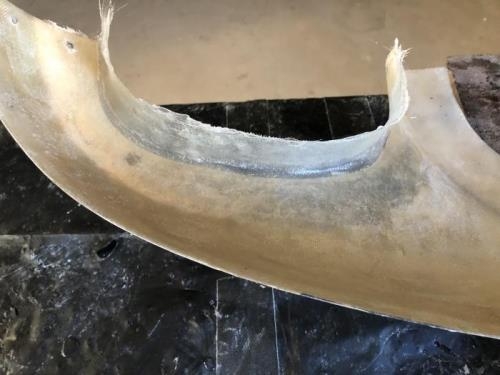
Through trial and error, I found the best method was to lay this outside layers first down into the mold as it "set" the shape of the opening. After these layers cured, I removed the molds and applied the filler layers on the inside, followed by the overlapping layers.
By filler layers, I am referring to the plies needed to restore the original material thickness which I had cutout. After this thickness has been restored, I applied two additional layers, each one overlapping the one underneath to sandwich the fillers and form a permanent bond.
Upper cowl with first layer of glass
RH opening with econd layer of glass applied to inside