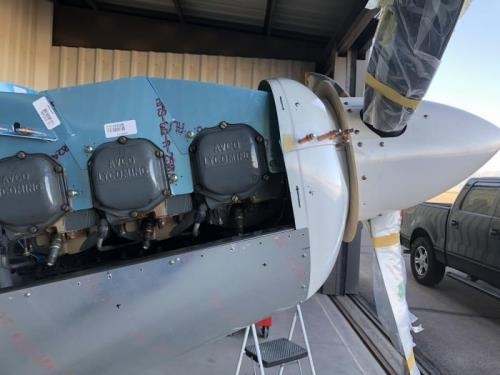
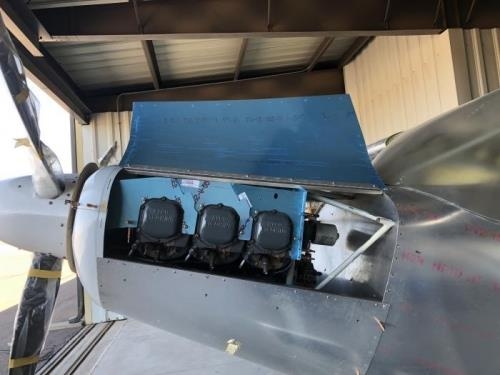
Using the string method, I marked the trim line on the side and aft baffles to permit installing the upper cowl skin. As before, this involved a slow, painstaking process of mark, trim, fit, repeat.
I trimmed the baffles so there was approximately 1/8" clearance all the way around and smoothed all cuts. I found there is a stiffener for the aft baffles located at the engine centerline that I will need to replace as I trimmed right down to the upper fastener hole.
After smoothing all trimmed edges, I marked the baffles to obtain between 3/4" to 1" gap between the baffles and the cowling. Along the aft baffles, if I remove the full inch that is recommended, my cut line will run very close to the openings for the engine mounts and I'm not sure I want to do that.
I realize the gap is primarily to permit the engine movement within the cowl but I reason there will be little movement right at the aft mount area.