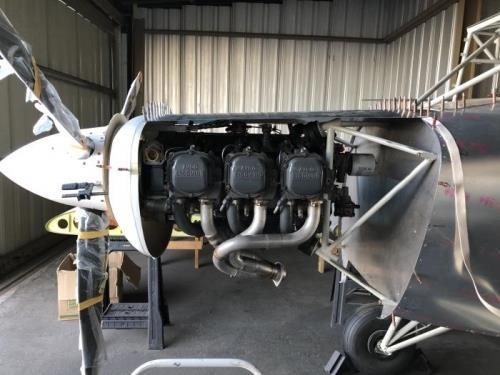
Once I had the nose bowl fixed into position I started working on the top cowling. I centered it laterally and after making sure there was overlap on both ends, drilled a hole common to the firewall flange to locate it and marked the centerline of the front edge of the cowl both on the cowl and the nose bowl. I then carefully trimmed the front edge of the cowling until it lay perfectly in the flange of the nose bowl. I was then able to layout and drill a single fastener hole in the front edge of the top cowl.
At this point, I only used a single fastener to ensure the piece is fixed in place. I will not remove the plug holding the nose bowl until the engine cowling has been completed.Since I intend to use chafe tape on the firewall section under the cowling I placed it under the cowling while locating and drilling, I also took care not to induce an flex into the nose bowl while locating the top cowling as I felt this might later translate to larger gaps or stess on the nose bowl after removing the plug.
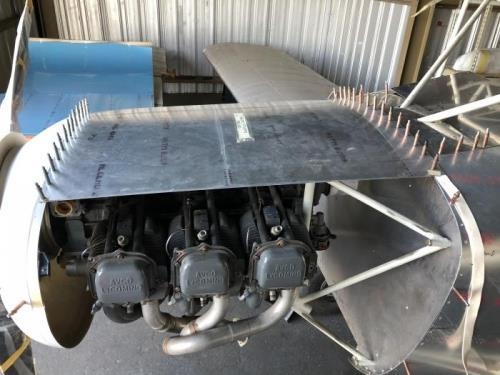
After trimming the front edge and drilling the first fastener I then trimmed the aft edge to leave a 1" overlap on the boot cowl skin.
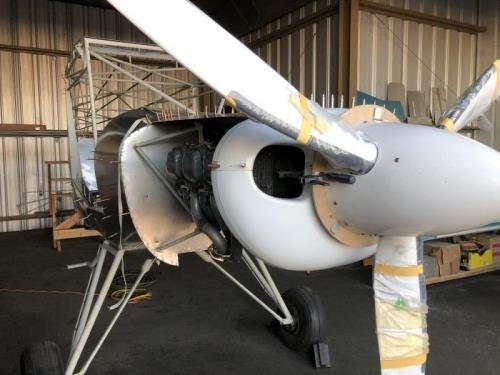
The last step was to securly clamped the top cowl into place making sure it layed flat then locate and drill the remaining fastener holes.