After completing the two side panels, I started to fit the bottom boot cowl extension. This piece will tie into the side panels in addition to the tunnel and the lower side boot cowls.
I plan to make the installation of all the external metal pieces permanent and provide the necessary access for inspection/repairs via the cabin floor panels. To that end, I want to keep the bottom boot cowl extension intact as a single piece.
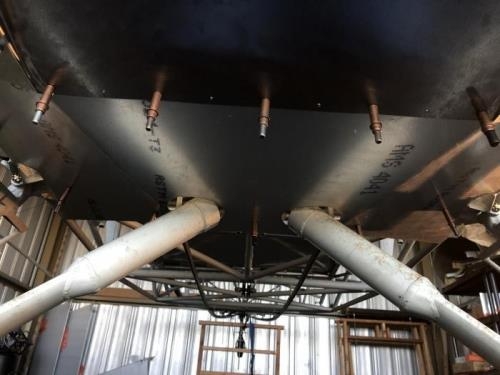
I started by oversizing the two holes where the landing gear struts penetrate the panel. I've read these need to be enlarged enough to permit the strut travel when under load but I've not seen actual dimensions so I'm making an educated guess.
My first enlargement of the strut holes was enough to permit the piece to be located on the plane to check for fit and to mark where the bends need to be placed. I also identified areas to be trimmed along both cutouts where the boot cowl comes near the reinforcement gussets for the landing gear attach points.
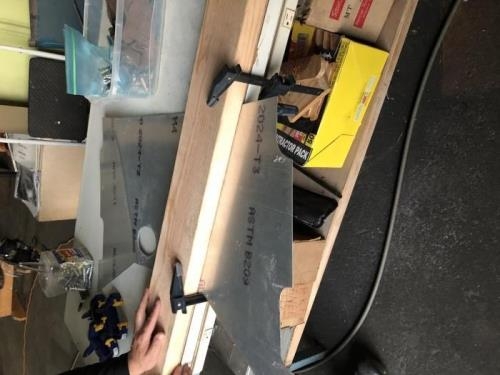
After marking the places for the bends, I removed the boot cowl and made a homebuilt sheetmetal brake using a 2x6" and some clamps. I do have a Harbor Freight sheetmetal brake but had not yet brought it to the hanger and I did not want to wait another day or so until I could bring it.
I apologize the second picture is sideways but I've not been able to figure out how to rotate it. At any rate, after clamping the metal into place, I used a small dead-blow hammer to gently tap the metal taking care to set the bend radius by tapping right next to the 2x6 first then tapping about an inch away from the bend. While doing so, I also applied downward pressure on the metal with my hand to help even tension across the length of the bend.
I used a bevel square to verify my bend was correct, then turned the piece around and bent the second side. Picture 2 shows the final product after the bends were made.