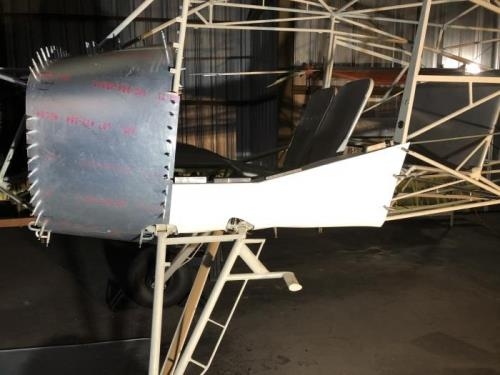
Brief Description: Top BootCowl Installation - Pt 2
After remaking the forward top boot cowl piece, I started making the aft piece. I wanted both pieces to be flush with each other so fabricated a 0.032" doubler to tie them together (image 1). This doubler is notched a little to permit ithe splice to sit a bit closer to the diagonal braces.
I also fabricated a 0.025" filler to lay across the top of the instrument panel so there would be no slight deformations of the top boot cowl after installation (image 2).
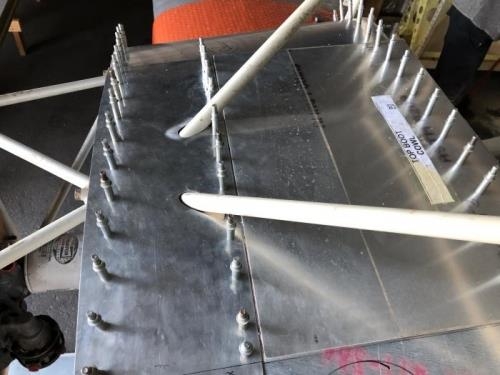
I decided this whole aft piece would become an access panel so I will be installing nutplates around the perimeter. Image 3 shows this future access panel partially drilled up.
All that is left on the top and side boot cowls is to finish drilling the access panel, trim all pieces to final size, drill fasteners to 1/8" (#30 holes), dimple fastener holes, and refinish parts.