Brief Description: Top Boot cowl Installation - Pt 1
Today I started to make the top boot cowl section. I had ordered a second piece of 2024-T3, .032" so I could make a section which will be located from the firewall and back over the diagnal braces to then be mated with the section provided in the kit that would continue to run back to the instrument panel.
The kit manual suggested to use poster board to make a template but instead I used some heavy duty masking paper thinking that would do the trick. I wanted to make a piece that would leave the minimum amount of gap between the sheetmetal and the diagonal braces.
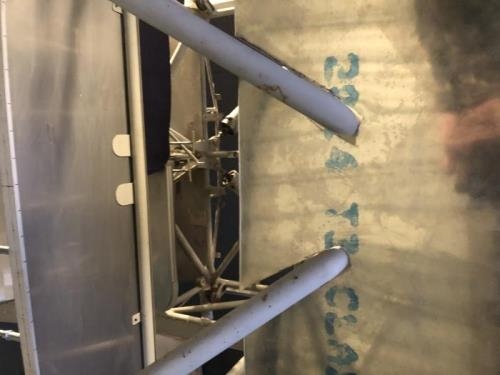
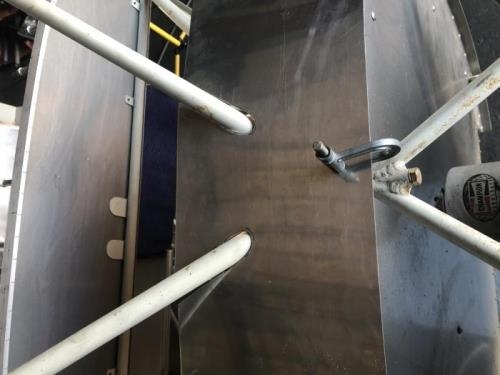
I was able to create a nice template for the notches of the diagnal braces taking great care to always reposition the paper in the same location across the boot cowl as I made each adjustment (incidentally, at this point, the side pieces of the boot cowl are clamped into place). I then transferred the template to my sheet metal. A bit of trimming and filing on the sheet metal resulted in a piece that fit between the diagonal braces very nicely.
I was very happy with the result and proceeded to clamp the sheetmetal to the firewall... instantlly I realized I had made a serious mistake because as the sheetmetal conformed to the curvature of the firewall, it raised up in the center thereby creating a 1/2" gap between the sheetmetal and the diagonal braces. That gap was exactly what I did not want!
After bit of shaking my head and berating myself for such a stupid mistake and I started to plan the replacement piece.
By using the heavy paper instead of something sturdier like poster board, the paper layed flat across the area instead of curving to match what the finished product would look like.
I cutout a new piece of aluminum and proceeded to shape it to fit.