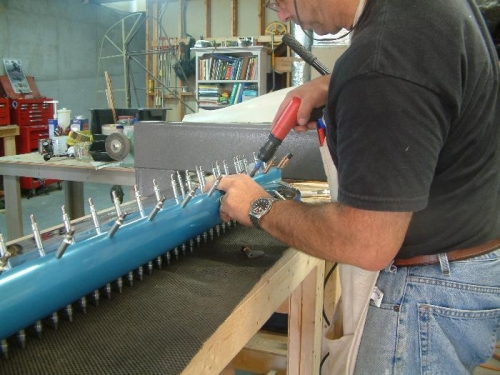
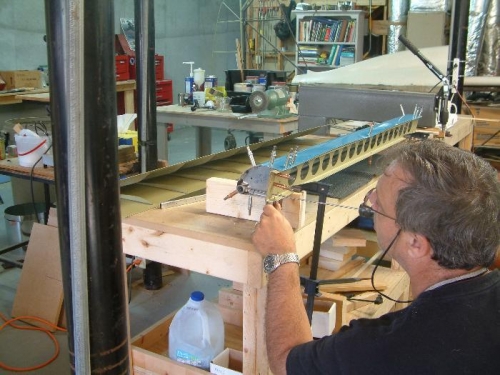
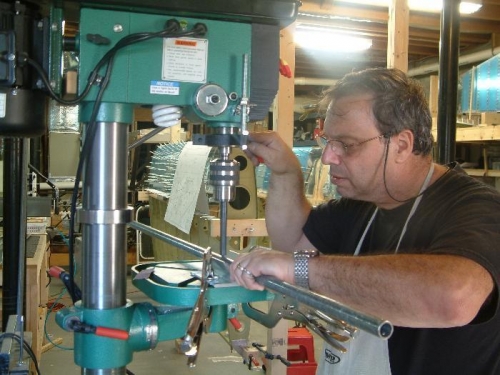
Good day today. I was able to complete both ailerons up to priming. I'll do that tomorrow. First I completed match drilling of the RW aileron from yesterday. Then I continued onto the LW aileron basically duplicating what I did yesterday. After that was done, I disassembled both ailerons per manual and drilled the nose rib tab to the counterweight through the bottom hole of the nose rib to spar flange. You can see in picture #2 that I placed the leading edge assembly on short pieces of 2 x 4 and clamped the spar bottom flange to the table. This provided a very secure assembly. I also clamped the other nose tab using side grip cleco to secure everything nice and tight and carefully lined up my 12 inch # 30 drill through the bottom hole in spar and nose rib to drill the counterweight using hole in the tab as a guide. At first I thought this would be tricky but it turned out to be very easy. The drill did not have any tendency to wonder while drilling. In picture #3, I am countersinking the holes in the counter weight. I clamped my V block jig to the drill press and using a 5/8 drill as a counter sink tool and adjusting and locking the drill travel I was able to countersink all holes easily and quickly. I reduced the drill speed to about 800RPM for this operation and I did not need to clamp the part as I drilled.