Brief Description: Fitted new W423 joint plate and fitted tank skin
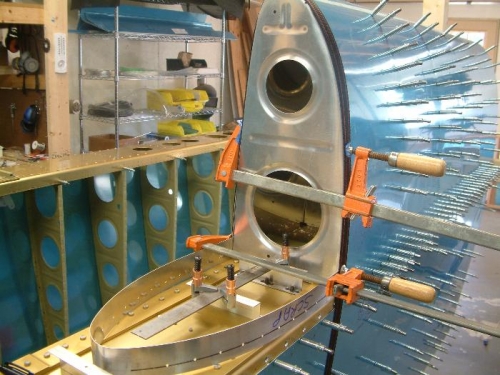
This time I wanted to make sure I didn't mess up drilling the inboard rib of RWLE. I took my time to layout the holes. The steel ruler is clamped to the z brackets to put some pressure on the rib to make sure it stayed in position while match drilled flange using spar as guide. I temporarily installed the scrapped W423 joint plate as shown to makes sure the rib was centered correctly. I then drilled the bottom flange followed by the skin to rib holes. Then I inserted the new joint plate and match drilled joint plate and rib flange using skin holes as guide. Again to make sure I did not repeat mistakes I previously made, I checked position of each drilled hole in rib flange. I clecoed each hole drilled up towards the nose as I went along. The result this time was perfect.
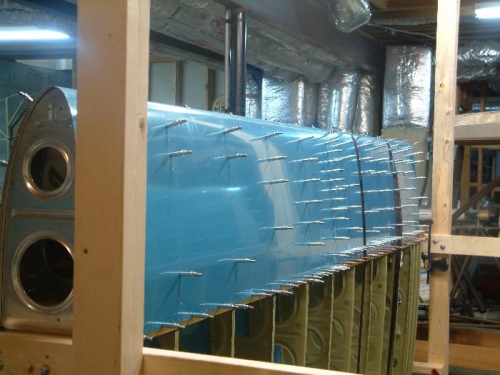
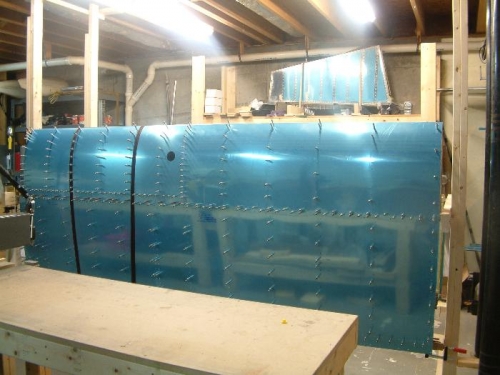
I then clecoed the RW tank to check the fit at the joint plate....perfect fit. No adjustments required. I then removed the tank skin, positioned the ribs and match drilled the rib rear flange to z brackets. After this I clecoed top skin to rib and pulled skin tight and clecoed bottom skin. I checked the fit again at the joint plate and it was still perfect. Even the joint between tank skin and wing skins turned out perfecto!
Positioning inboard rib of RWLE
RW tank being pulled tight over ribs - bottom side view