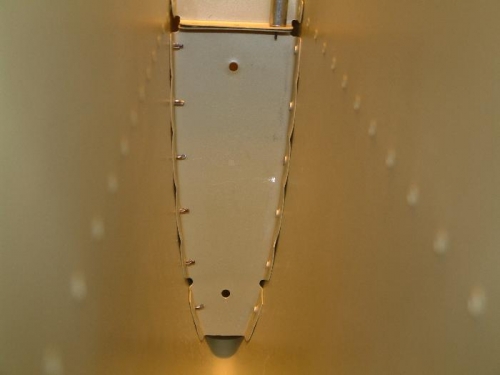
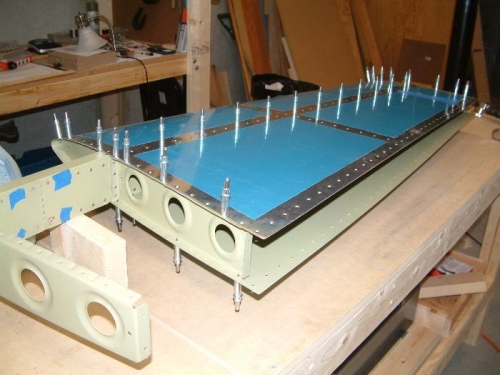
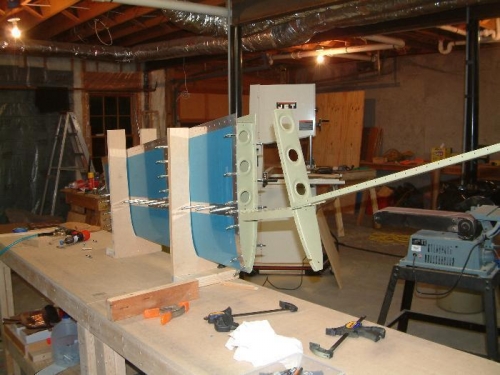
The first full day of final assembly and riveting went well. When riveting flush rivets, I found that the swivel head flush rivet set left a lot of marks on the skin even though the set was polished to a mirror finish so I had to find a better way of protection. I continued this way with the HS but for the rudder, I tried putting a small pc of 3M blue painters tape over the flush rivet set and found that this worked great. The tape lasted about 50 rivets before changing it. I did make a few bad rivets, but generally I was quite pleased with results. Initially, I tended to put too much pressure and concentration on the bucking side which caused me to mess up some rivets. I am now an expert at removing both flush and solid rivets and learned a heck of a lot in the process. This will come in very handy in the future. In retrospect, I think the VS would have been an easier first part to complete. The HS requires much more skill when starting out. Even though we do not need fixtures with the matched punched kit, I fabricated these two holding fixtures and clamped them to the table. This made it a whole lot easier to reach all the rivets by myself. Another trick I learned was to put some tape on the bucking bar so as not to scuff the primer.