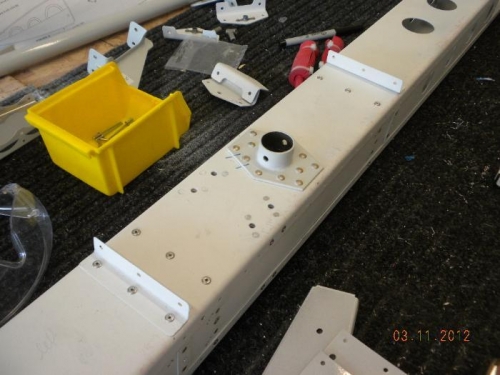
I first attached the rib clips as described in step 1.
For step 2 found all the ribs, took off allthe blue plastic and radiused them . After that I primed all the end which I radiused and the flange surfaces which will touch the skin.
I also had to fix some small little cracks in a few of the HS1204 ribs, Vans send out a warning on it and how to fix it. Go to their notification page, it is only valid for a ribs made between certain dates. 4 ribs had 1 or 2 small cracks. You drill a #40 hole at the top of the crack so that it can not prgress any further.
I need to flute several of them, don't forget this. The instructions don't mention it but it needs to be done. Secondly in one of the build logs I reference it mentioned to debur the holes and edges of the ribs. Again not mentioned but you have to remember. I don't mean this as critizism of the manual but like me who does not buidl every day or week it is easy to forget to do these logical unmentioened steps.
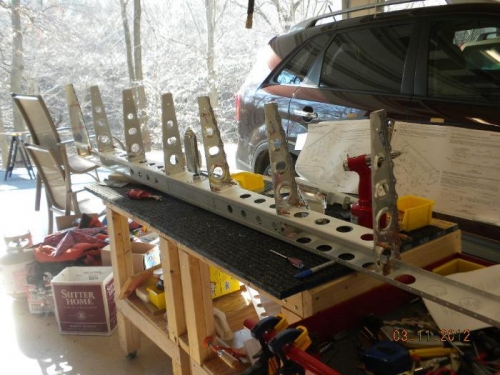
Picture 2 shows the ribs being attached using cleco's, be aware of each rib's orientation.