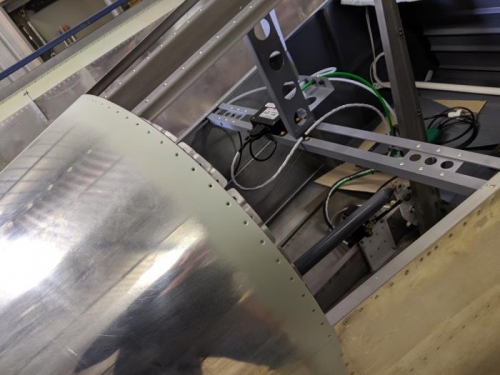
First up today some preparation work on the rear fuselage before I can start rivetting the skin piece in place. I added some grey paint to the section of the skin surface that will be visible from inside, to match the rest of the aeroplane interior. I also applied some primer to the fuselage where the new skin piece will overlap existing pieces.
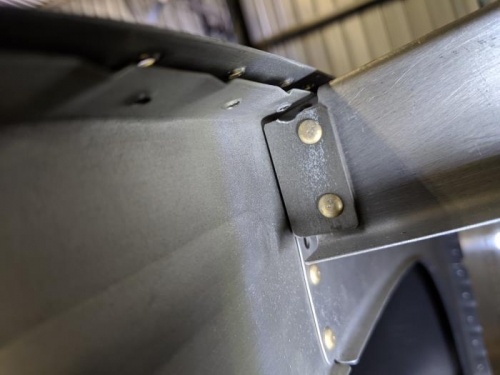
Another little problem area I tended to is shown in the bottom photo. There's a small angle bracket that is fixed to one of the rear bulkheads, but it's not supposed to be rivetted in place yet. The manual says that having it rivetted in place will result in not being able to get one of the skin rivets installed. Well, the Vans Quickbuild team seemed to have gone and rivetted it in for me already. Awesome!
I contemplated drilling out the rivets that hold the bracket in place, but in the end I instead got out my dremel, fitted a mini die grinder bit (like a dentists drill) and ground away a small section of the bracket. This then left enough clearance under the flange such that I could get a pop rivet in there. Job done.
Inside surface of the rear skin primed, and that portion that will be visible also painted grey
I added some primer to where the two skin surfaces overlap
This was a problem. Thanks Vans Quickbuild ... this bracket isn't meant to be assembled yet