
|

|
|
|
Peters Web Site
|
Date: 6-8-2019
|
Number of Hours: 4.00
|
Manual Reference: 9225501-LOG-05.089
|
Brief Description: Fuselage Top Rear Skin
|
|
Spent this afternoon preparing the rear top skin. First I checked that all rivet holes were match drilled (was done about a year ago, so thought I'd go over all the holes before proceeding), then I removed the skin from the airframe and dimpled all the holes on my awesome dimpling frame. This meant first clearing away the mess from my workbench, which was a chore in itself!
After dimpling I then cleaned the inside surface of the skin with isopropyl alcohol (took a while) and then coated with primer. I didn't want to have to mix up paint and bring out the spray gun, so I just used a spray can of epotec two-pack primer. Tomorrow I'll add some dark grey to the areas that will be visible before cleoing the skin back in place ready for rivetting.
Much of today was just spent pouring over the plans. It's been a long while since I worked in this area, maybe around 12 months, so I needed to refamiliarise myself with where I'm at, and the steps ahead.
The instructions don't actually call out when the skin is to be rivetted into place .... anywhere! I read ahead and cannot find any reason why I can't do it now. I hope these aren't my "famous last words!"
|
|

Spent a LOT of time today studying plans
|
|

Been a while since I've had to use my dimpling frame, but today it got a good workout
|
|
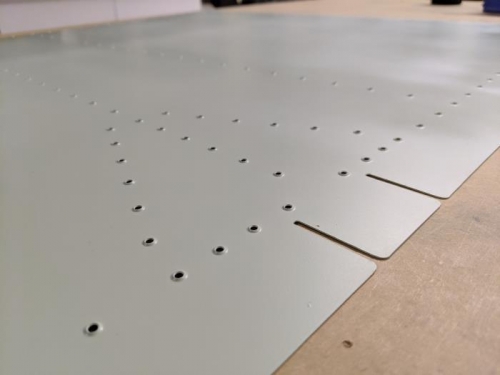
Rear top fuselage skin, drilled, deburred, dimpled and primed, all ready for rivetting into place
|
|
|
|
|
|
|
|
|
Copyright © 2001-2024 Matronics. All Rights Reserved.
|