The task I set for myself for today was to have the gear leg attachment weldments installed, and although it wasn't completed without some words of "self-encouragement", completed it is.
First up I made a quick trip out to work to photocopy the template on drawing 34A. This is needed to mark out the location of the elongated hole in the bottom skin, and I didn't want to cut up my original set of plans.
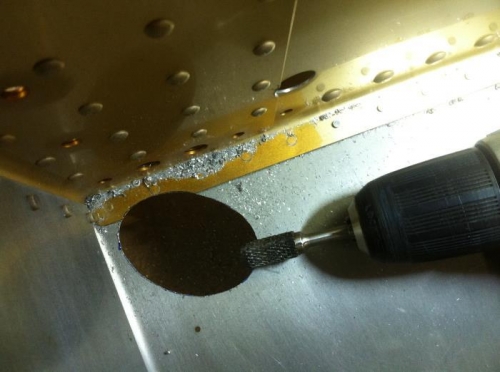
With the two holes marked out I then took out the majority by drilling a number of large holes and cutting between them with my tin snips. I then used a rotary die in my cordless drill to enlarge the hole out to my texta mark.
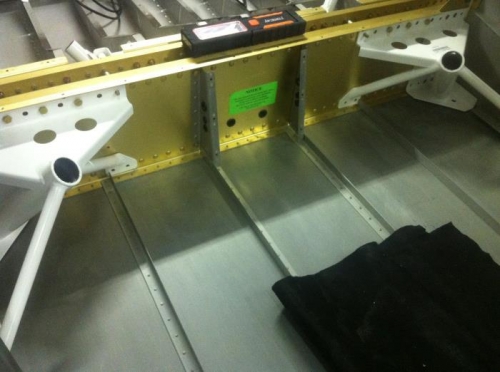
When trying to fit the first gear leg weldment I had all sorts of trouble getting it in to place. After much scouring of drawings and instructions I finally realised that there was one pre-installed bolt in the main spar (part of the QB build) that was inhibiting my progress. I took the bolt out and the weldment slotted into place nicely.
Amazing how much faster you can work second time around. The first gear leg weldment took me 150 minutes to install. The second took 40 minutes. No wonder second-time builders can work so much faster. I should have skipped this plane and gone straight on to my second one....might have been finished by now :-).
Marking out the location for the gear leg hole
Tough going, but the rotay die made good work of it