Today I decided to complete the wiring to the roll servo in the right wing. The servo motor came with a couple 9-pin D-Sub connectors, however I bought some slightly different ones from Radio Spares so that I could both solder the connections, and panel mount the female connector.
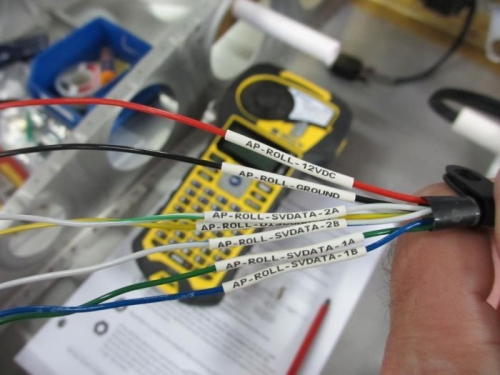
I put my new Brady labeller to work for the first time today, and made up heatshrink label sleeves to identify each wire. These look very professional. When soldering each wire I also slipped a piece of clear heatshrink over each connection. This serves a couple purposes. It electrical insulates each pin and, it affords a small amount of strain relief. Also, being clear, I can still see the soldered connection inside.
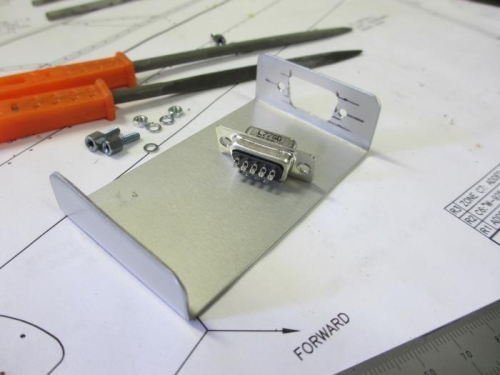
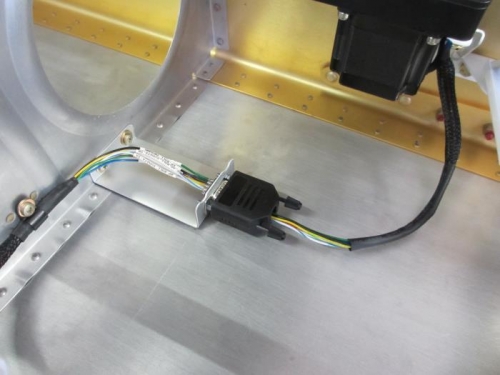
The second photo below shows the simple mounting panel I made up for the female connector. The third photo shows it when I'd finished. I mounted it to the wing rib with a couple nutplates and screws so it can be taken out at any stage down the track. The photo also shows another screw/nutplate so I could clamp the wiring to the rib, eliminating any possible strain on the soldered connections.
Pretty happy with how this turned out. It took me over five hours, but worth the effort. Everything is visible from the inspection hatch, and everything can easily come out if theres ever any need to work on it later.
Wire markers for the auto-pilot roll servo wiring
Making up a bracket for my fixed wiring connector
The finished product. Roll servo wiring all neat and secure.