
|

|
|
|
Peters Web Site
|
Date: 11-10-2018
|
Number of Hours: 5.00
|
Manual Reference: 9225501-LOG-11.011
|
Brief Description: AoA Control Box Bracket
|
|
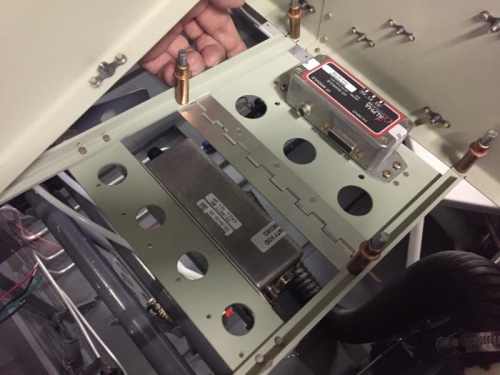
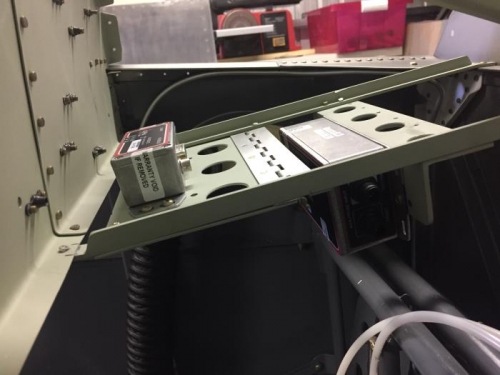
I spent today finishing off the mounting bracket for my AoA control boxes. The pictures below show how it works. The main control box is fixed in position on a solid piece of aluminium angle, whereas the I/O module (that allows flap position inputs to be added) is on a hinged section, out of the way in normal use, but if needed, it hinges down to provide access. It works quite well.
I rivetted all the components in place and then started running the various wiring cables. I needed to fit two wiring bushes in the sub-panel. One for the AoA display unit cable, and one for the switch panel which is used for calibrating the AoA system in flight. I'll mount this on the instrument panel somewhere.
I'm happy with how this is AoA installation is coming together, even if it is consuming a lot of hours. It will be an awesome addition to Tango Papa Zulu, and something that not too many RV's are fitted with.
I spent a lot longer in the shed today than just five hours, but I had a visitor, so a couple beers were had while recounting tales of aircraft building, flying, women, and lawyers. All hot topics for me right now. I didn't log these hours :-)
|
|
The hinged bracket for my AoA I/O module
|
|
This has turned out very neat
|
|
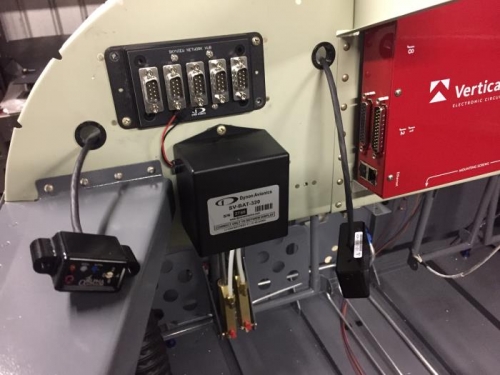
A couple wiring holes added for the AoA peripherals
|
|
|
|
|
|
|
|
|
Copyright © 2001-2024 Matronics. All Rights Reserved.
|