
|

|
|
|
Peters Web Site
|
Date: 6-16-2018
|
Number of Hours: 3.00
|
Manual Reference: 9225501-LOG-03.117
|
Brief Description: 1: Installing the Rudder Stop
|
|
Today I spent ages setting up the rudder stop for proper rudder deflection.
The instructions call for 35 degrees deflection, which can be verified by measuring from the rudder trailing edge to the outboard trailing edge of the elevator skin. If the measurement is 46 1/8" then the angle is 35 degrees. I thought I had already trimmed the rudder stop enough previously however when I installed it today, and put the rudder back on, I found I had a measurement of 48" on both sides. It seems I misread the dimension. Lucky for me I needed to take more off the rudder stop, not put material back on.
I sanded the rudder stop back on my disc sander, each time taking off only a very small amount. I think I had the rudder on and off about eight times today.
I also had to notch the rudder stop on both sides to prevent it fouling on a couple rivet heads.
As shown in my pictures, I opted to fit the stop between the top and bottom hinge brackets, which required a spacer to prevent the hinge brackets from being clamped tight. I found that two standard washers superglued together was a perfect fit.
I also worked on the bracket that secures the vertical stabiliser to the fueslage. Deburred, smoothed, alodined, primed, and then (when dry), bolted it back into position. No pictures of this.
|
|
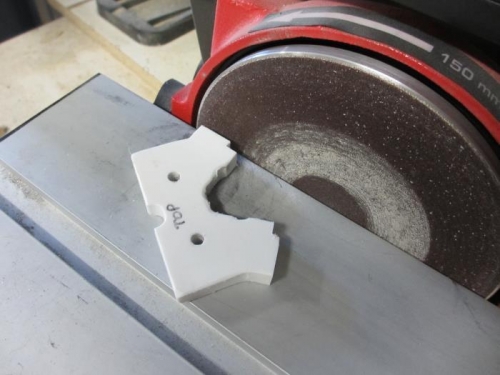
Fine tuning the rudder stop for correct rudder deflection
|
|

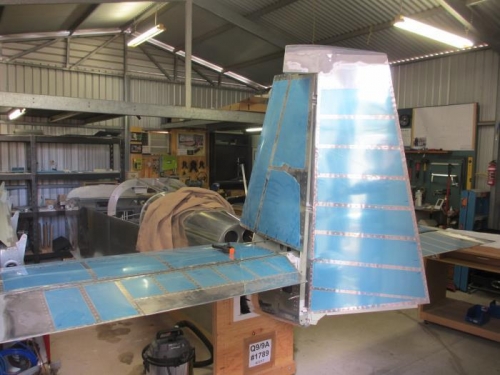
Bolted in position at the bottom rudder hinge bracket
|
|
Correct 35 degree deflection both sides
|
|
|
|
|
|
|
|
|
Copyright © 2001-2024 Matronics. All Rights Reserved.
|