Brief Description: 2: Bolting on the Horizontal Stabiliser
Another major milestone coming up soon as I start the process of bolting together the empennage onto the fuselage.
First I clamped the horizontal stabiliser into position and took measurements from a main spar rivet at the outer edge of the horizontal stabliser, to the front firewall. I kept making tiny adjustments until I measured exactly the same on both sides, thereby ensuring the rear wing is perpendicular to the aircraft longitudinal axis.
Once I had the position established then I carefully marked out and drilled the holes for the front attach angles. You need to be very careful doing this as the structural components that you drill through are under the rear deck, and out of sight. I took a lot of measurements before marking and drilling my bolt holes. All good.
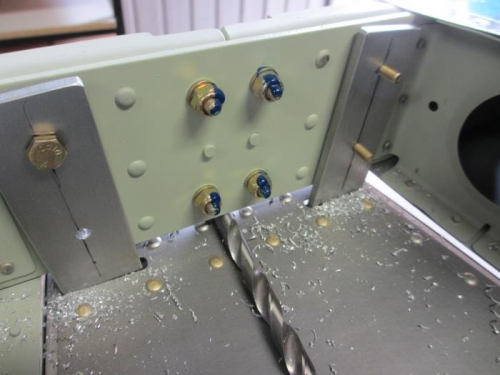
After drilling the angle attachments I then made up a couple small spacers that are needed to elevate the stabiliser front spar slightly. Nothing difficult about that. With the spacers bolted into position the instructions then suggest placing a 11/32" drill bit under the rear spar to create the correct incidence angle (zero degrees). With the drill bit in place I then marked and drilled the rear spar attach bolt holes.
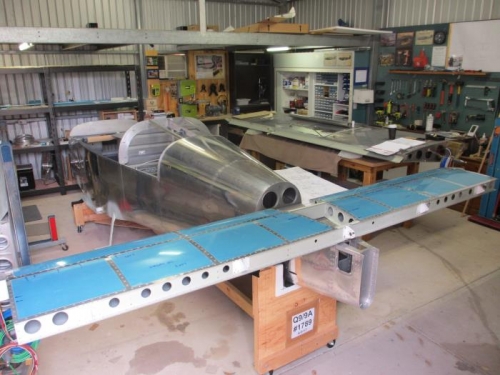
The rear wing looks huge, especially from this angle
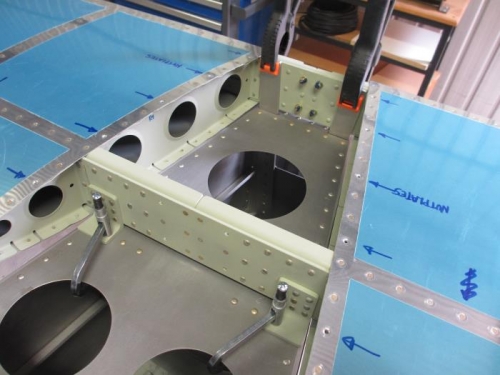
Clamped in place while I take measurements to ensure perfect alignment
An 11/32" drill bit provides the correct spacing for drilling the rear spar attach bolts