
|

|
|
|
Peters Web Site
|
Date: 4-30-2017
|
Number of Hours: 3.00
|
Manual Reference: 9225501-LOG-03.089
|
Brief Description: 3: Trim Tab Assembly
|
|
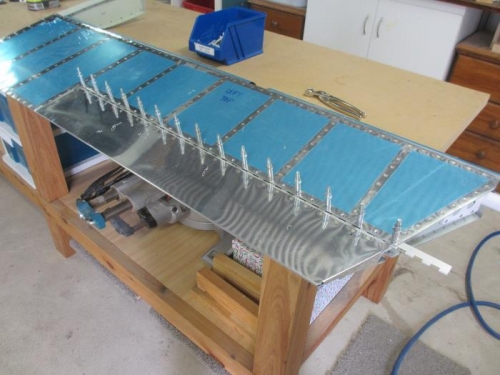
Next up today I fitted the trim tab to the left elevator. I very carefully aligned the trim tab trailing edge with the elevator trailing edge and clamped the hinge in place at the inboard end (where you can actually get a clamp onto it).
Once clamped in place, I then drilled the hinge holes, using the holes in the top skin as my guide. I started at the inboard end and worked my way along, clecoing as I went.
I then removed the trim tab, took the hinge apart, and deburred all holes before then riveting the hinge piece in place using the pneumatic squeezer. Once properly set up (you have to shim the dies to get the proper set on the rivets), this tool is awesome. Very fast, gets into awkward spots, and no bucking bar scratches.
After the hinge piece was riveted in place then I fitted the trim tab and checked alignment. All good. Edges all align, and a nice neat 3/32" gap between the trim tab and elevator resulting in a nice, free movement.
I was going to leave it there for the day but couldn't help myself, and also attached the servo motor to the trim tab. I hooked the servo motor up to 12VDC and set it's travel to exactly midpoint. I then cut the connecting rod to length, screwed on the two clevis pieces, and fitted it all up. See the bottom photo. I'm impressed!
|
|
Match drilling the trim tab hinge holes
|
|
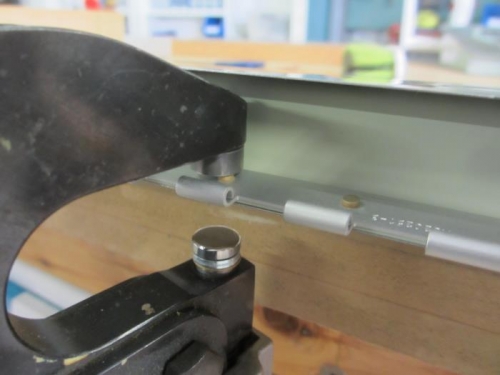
Using the pneumatic squeezer to set the hinge rivets
|
|
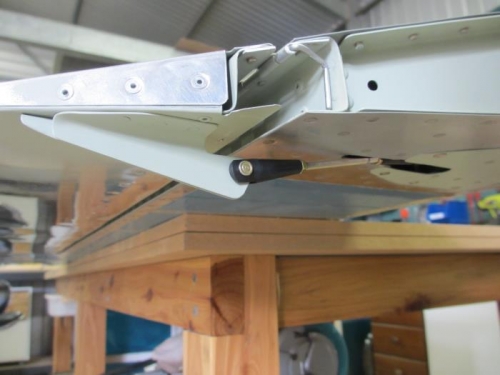
Trim tab attached, and connected to the servo
|
|
|
|
|
|
|
|
|
Copyright © 2001-2024 Matronics. All Rights Reserved.
|