Brief Description: 2: Left Elevator Counterbalance
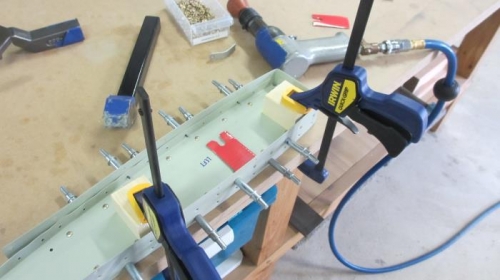
While the right elevator trailing edge sets I thought I'd now go on with the left elevator. First step today was to rivet the two counterbalance ribs together, and then rivet the counterbalance skin in place.
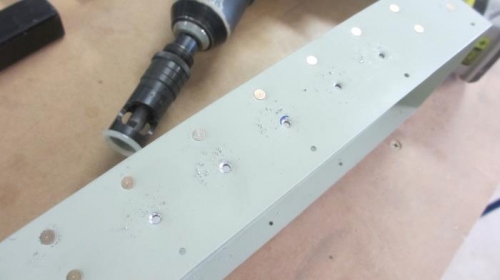
This all went okay, however I found that quite a few of the skin rivets were not quite sitting flush. This annoyed me enough to drill them out (about 18 in total) and take a tiny bit extra off each dimple with the countersink cage.
Now much better.
Riveting the counterbalance ribs and skin
I decided to take a tiny amount out of some of the dimpled holes, just to make the rivets sit flush