Brief Description: 3: Right Elevator Trailing Edge
I finished the day off today by getting the right elevator trailing edge all ready for glue-up and riveting.
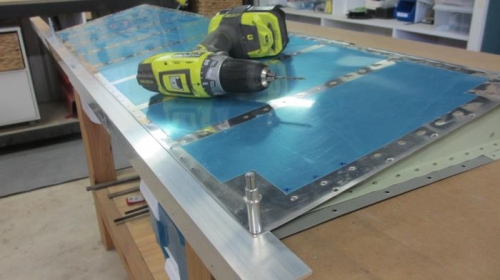
The process is the same as the rudder trailing edge, so therefore the first step was to match drilling my length of aluminum angle to the elevator trailing edge holes in the top skin. This will form the straight, rigid guide necessary for a nice flat control surface trailing edge.
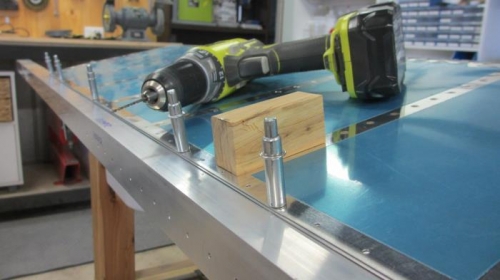
The wedge pieces supplied for the elevators are not predrilled like the rudder piece, therefore the next step was to match drill the top and bottom skins with the wedge piece in place. The angle of the drill needed to be perpendicular to the elevator chord, and not the surface. The drawing (DRG 5) shows how to make up a simple wooden guide block that helps align the drill to the right angle.
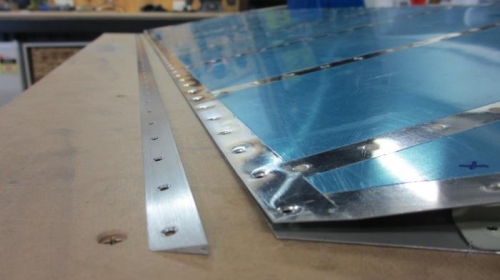
After drilling all holes I then dimpled both skins, and machine countersunk both sides of the wedge piece.
All is now ready to glue into place with tank sealant, but I think I'll leave that for tomorrow.
Match drilling holes into aluminium angle
Drilling holes through both skins and trailing edge wedge
Wedge piece all ready to be glued and riveted into place