Brief Description: Building the Elevator Counterbalance Arms
Another big day at Roxby Downs Aeroplane Company, but when I look back at what I've done, it doesn't seem so much. These elevators sure do require a lot more work than meets the eye, plus it's slow going as there's a lot to take in from the plans in this area (therefore many ways to stuff-up!).
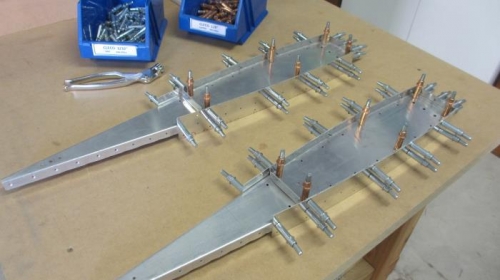
Today I assembled and match drilled both elevator counterbalance arms. This required me to first flute and square the two pairs of ribs that sit back-to-back on the end of each elevator. Once this was done then it was a relatively simple task to cleco on the respective counterbalance arm skins, before fixing the assemblies in place at the end of each elevator skin and match drilling all the rivet holes.
I spent quite a bit of time prior to drilling to make sure I had everything right. The instructions make a warning about the elevators being the parts where most mistakes are made by builders.
After match drilling all holes then I took everything apart and started on the job of deburring and smoothing.
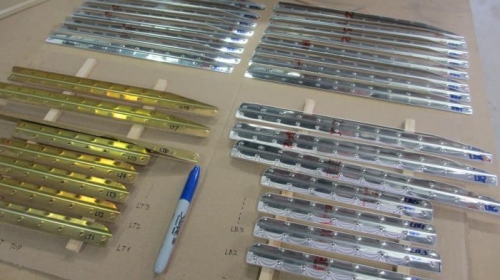
I also decided to get a start on what's going to be a long alodining process, and got half the elevator stiffeners done late in the day. I was half-way through when I took the third picture below.
Match drilling the left and right elevator counterbalance arms
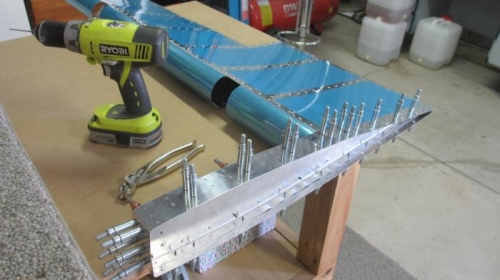
The left counterbalance arm attached to the skin, for final match drilling
Part way through alodining the elevator stiffeners