Brief Description: 3: Finishing the Rudder Leading Edge
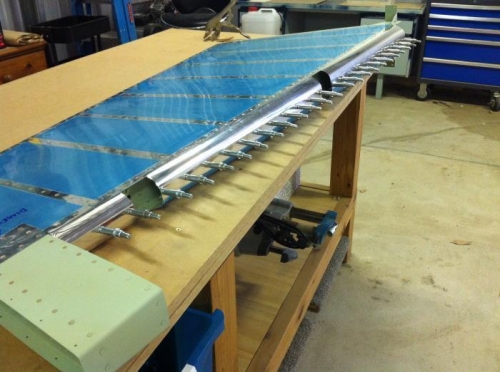
After rolling the rudder leading edges, I then cleco'd the two skins together, match drilled all the holes to #30, and deburred.
I'd also read another builder's log where he used his hand seaming pliers to put a small crease along the edge of the right skin. This resulted in the edge laying nice and flat against the other skin when riveted in place. I gave this a go, and although the skin doesn't lay perfectly flat all the way along it's length, it's still much better than the large gap that would have resulted had I not done it.
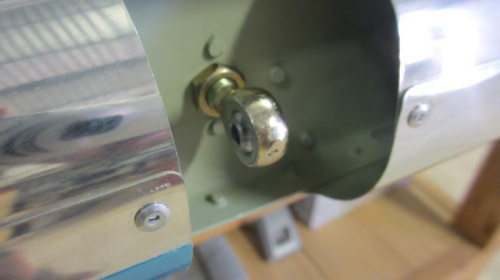
I then pop riveted the leading edges together and screwed the three attachment bolts in place.
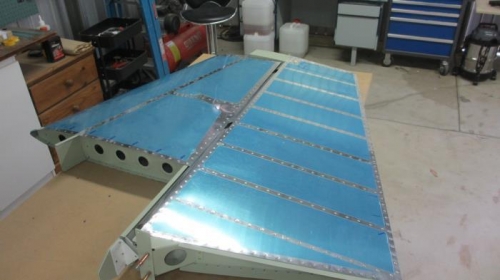
Although not mentioned in the instructions, the natural step now was to test fit the rudder to the vertical stabiliser. I'm very happy with how nicely the rudder moves, and the nice neat gap between the two pieces. Awesome.
Both rudder skins cleco'd together at the rolled, leading edge