
|

|
|
|
Peters Web Site
|
Date: 3-8-2017
|
Number of Hours: 1.00
|
Manual Reference: 9225501-LOG-03.054
|
Brief Description: 2: Gluing up the Rudder Trailing Edge
|
|
..... after preparing the aluminium angle straight edge, I then set about mixing up my small tube of tank sealant. While doing so I was horrified to read on the packet that once mixed, this stuff is only good for 4 days (if kept in a freezer). Reading ahead in the instructions I see I also need to use tank sealant on the elevators and trim tab. I won't get up to that in 4 days, so guess I'm going to have to order some more. Oh well.
After thoroughly mixing my little tube of sealant I realised that I'd gone and spray painted the angled wedge piece. Oops, this needs to be a scuffed, bare aluminium surface for the sealant to bond properly. Bugger. I spent about 30 minutes on the scotchbrite wheel, and with scotchbrite pads, cleaning all the paint off. I then also rubbed down with isopropyl alcohol to get all the dirts and oils off.
Now I was ready, so I smeared a thin, even layer of the sticky, gooey, sealant along both sides of the wedge piece, and then carefully put it in place between the two skins. After clecoing every hole down to the alunimum angle I noticed that at the very ends the skins wanted to sit up a bit, so I set a couple spring clamps in place.
I'll now wait two days until Friday night to take the cleco's out and start riveting.
|
|
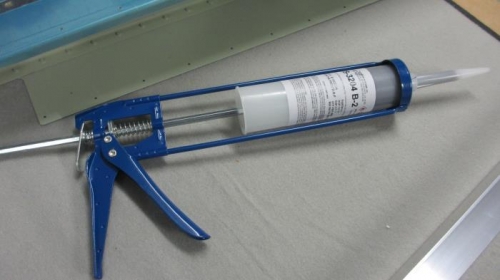
My tube of tank sealant, all mixed and loaded
|
|
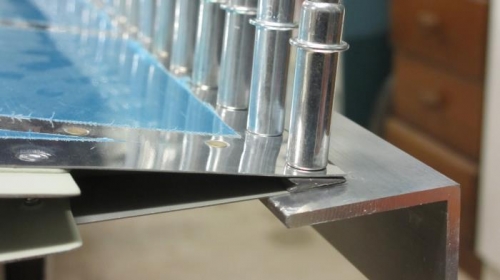
The rudder trailing edge, glued and cleco'd
|
|

And now with a clamp to hold the pesky skin corners tight to the wedge piece
|
|
|
|
|
|
|
|
|
Copyright © 2001-2024 Matronics. All Rights Reserved.
|