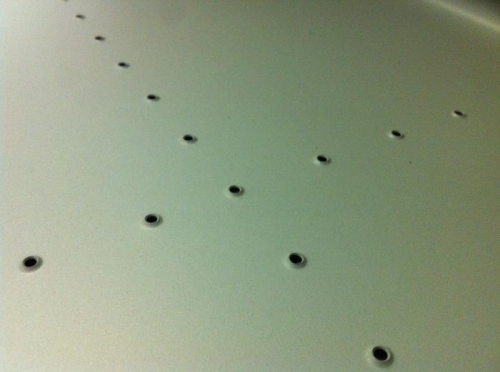
Today I started by dimpling the left horizontal stabiliser skin. Just like the right skin, first I used my soldering iron and steel rule to remove the film from the rivet lines. No photos of this today as it's exactly the same as yesterday. Then I dimpled all 236 holes (couldn't help myself...I counted 'em) using my DRDT-2 dimpling tool.
I had a few light scrathes on the inside surfaces, from moving the skins across the bottom dimple die, so I read up Vans instructions which says to sand out all surface scratches, no matter how light. I did this with a green scotchbrite pad. Didn't take much effort.
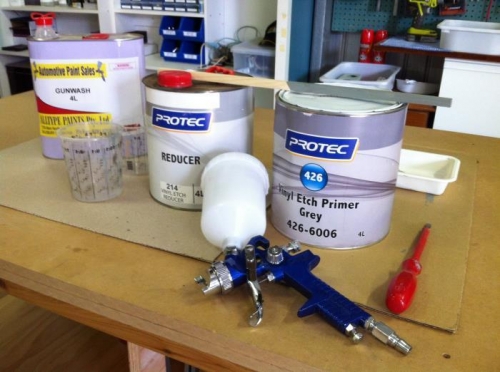
After a good wipe over with isopropyl alcohol, to get rid of any dirt, ink and oils, I then mixed up some etch primer and went to the task of spray painting the inside of both skins.
I mixed 2 parts etch primer to 1 part reducer, and ran my spray gun with a 1.7mm nozzle at 60psi. All in accordance with paint manufacturers recommendations. I also took full advantage of the weather and set up a spray table in the shade outside.
Even though I've done very little spray painting before, I am quite pleased with the results. I'll let the primer properly dry before I move on to the fun part of assembling it all.
Tools of the trade
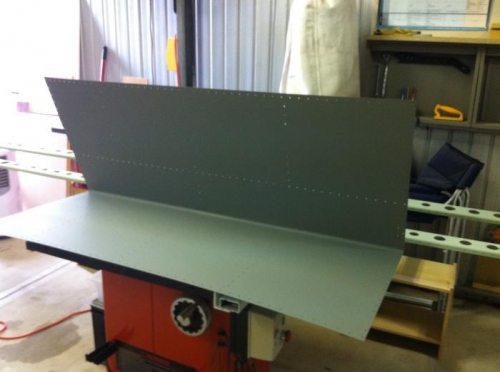
Etch primer to the inside surfaces of both HS skins