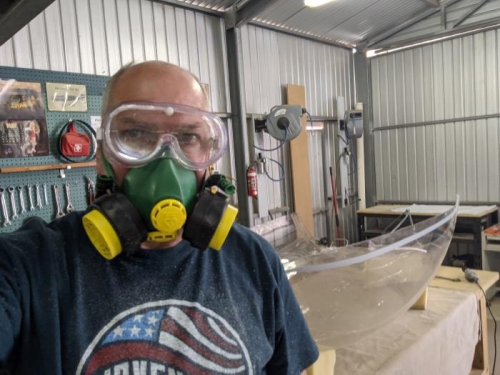
Today I got back into it for real, and trimmed the canopy plexiglass bubble to the frame, side and rear. It was a perfect temperature today for cutting plexiglass, and I'd procrastinated on this for far too long, so out with the Dremel and cut away I did.
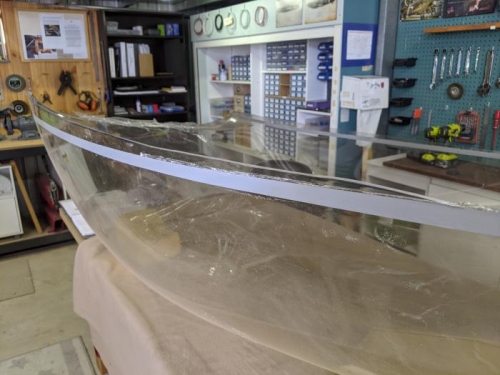
First I cut both sides to a line level with the bottom edge of the canopy frame side bows. More will need to be trimmed off the sides later, but for now the instructions to say to trim to this line. With the sides trimmed I then got my sander out and smoothed the cut surface. Apparently if you leave it with the rough cut finish then you can get cracks develop.
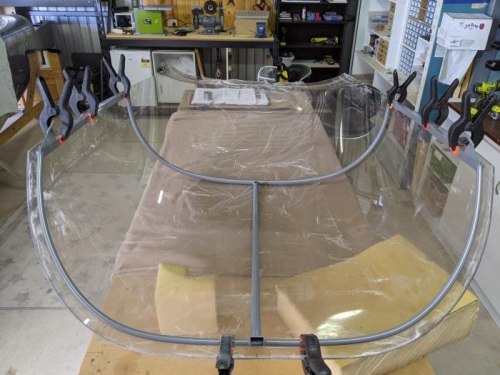
With the sides done I then decided to trim the rear of the bubble to the canopy frame rear bow. The instructions make no mention of this step anywhere, but I figure it may as well be done now. I looked through the plans and eventually found a dimension that showed the plexiglass needs to overhang the frame by between 1/2" and 1", so I marked and cut to just over 1". I figure this will also need to be re-trimmed later once I start final fitting.
Pretty happy with the progress today. I had to stop there as am flying down to Adelaide this afternoon for work. Next weekend I hope to make "the big cut" (seperating the bubble into two parts). Yikes!