
|

|
|
|
Peters Web Site
|
Date: 4-25-2017
|
Number of Hours: 2.00
|
Manual Reference: 9225501-LOG-03.083
|
Brief Description: 1: Trim Tab Servo Motor
|
|
First up today I alodined and primed the trim tab spar, and while I waited for this to dry I thought I'd go on with assembly of the small pieces that hold the servo motor in place inside the left elevator.
The instructions here are effectively non-existant. The Vans instructions refer you to specific assembly instructions included with the servo, whereas the servo instructions refer you to the airplane manufacturer for specific details. Okaaay, that's not helpful!
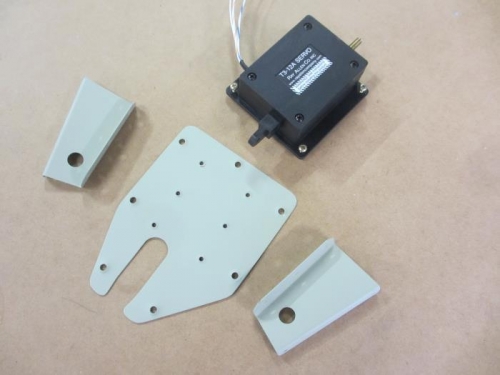
Anyway, I eventually worked it out for myself. There is a couple basic dimensions on the drawings which helped. Once I determined excactly where the two little mounting brackets needed to attach onto the cover plate, then I clamped them in position and drilled the holes. I then did all the usual deburring, dimpling, alodining and priming. I'll rivet them all together tomorrow after the paint has properly dried.
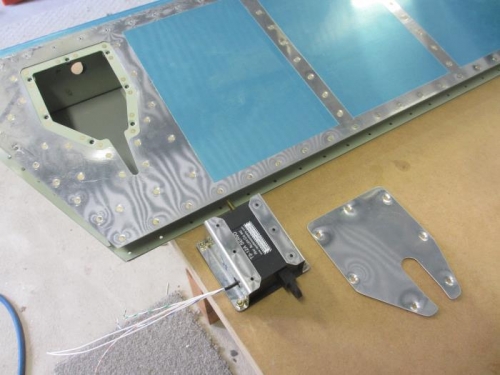
While I had the servo motor out I thought I may as well test it to ensure it works. I connected the motor, rocker switch and LED position indicator as per the drawings, and it worked a treat. In practice I won't use the rocker switch, but will rather control the trim from buttons on the joystick.
|
|
Assembling the trim tab servo motor parts
|
|
Parts all drilled, deburred, dimpled, alodined and primed
|
|

Testing the trim tab servo motor electrics
|
|
|
|
|
|
|
|
|
Copyright © 2001-2024 Matronics. All Rights Reserved.
|