
|

|
|
|
Pete's RV-8 Web Site
|
Date: 11-26-2009
|
Number of Hours: 3.50
|
Manual Reference:
|
Brief Description: Prepared leading edge assembly for riveting
|
|
I managed to get the leading edge assembly ready for riveting this afternoon. The assembly was removed from the wing earlier but during this session I disassembled it completely, removed plastic from the rivet lines, deburred and dimpled all the holes, removed a few scratches on the inside of the skin with a scotchbrite pad, and wiped the skin down with some acetone to remove any dirt, oils, fingerprints, etc.
All the ribs were deburred and dimpled, the noses of the ribs were cleaned up on a scotchbrite wheel to ensure a smooth rounded surface, and any scratches were rubbed out with a scotchbrite pad. After the ribs were wiped down with acetone, a coating of proseal was applied just to the nose area and the ribs were inserted into the skin and clecoed. I used the proseal to guarantee a nice tight fit to the skin (my ribs didn't fit flush to the skin in all areas at the nose and I was afraid it might cause some blemishes on the skin when riveted at the leading edge). The bit of proseal should guarantee a nice fit.
|
|
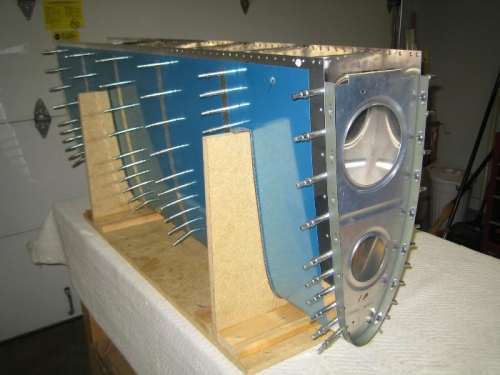
Leading Edge Assembly
|
|
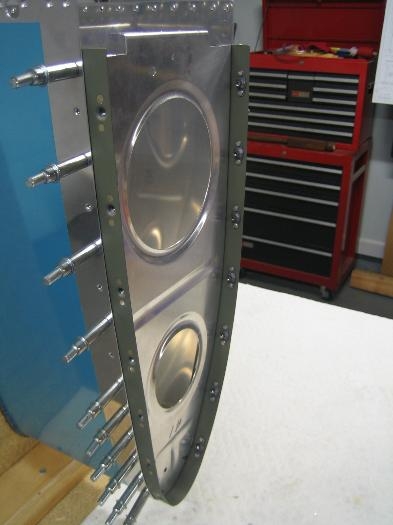
Joint Splice Plate
|
|
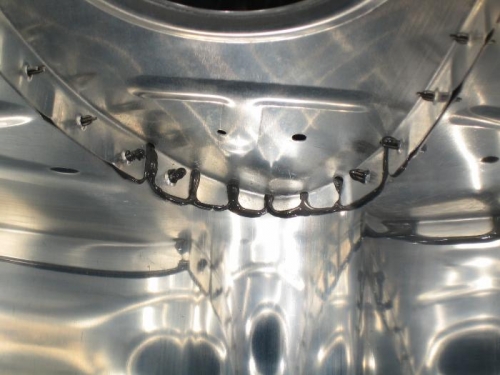
Prosealed Rib Noses
|
|
|
|
|
|
|
|
|
Copyright © 2001-2024 Matronics. All Rights Reserved.
|