Brief Description: Tank Z brackets and leading edge joint plate
The first item on the schedule this morning was to scotchbrite the tank Z brackets and get them primed for assembly later in the day. I went ahead and primed the 7th bracket that will be match drilled and installed at the wing/tank root.
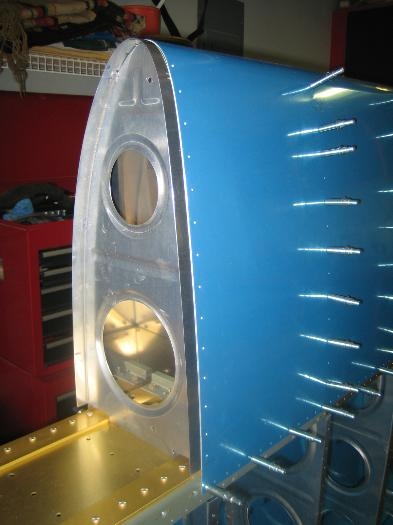
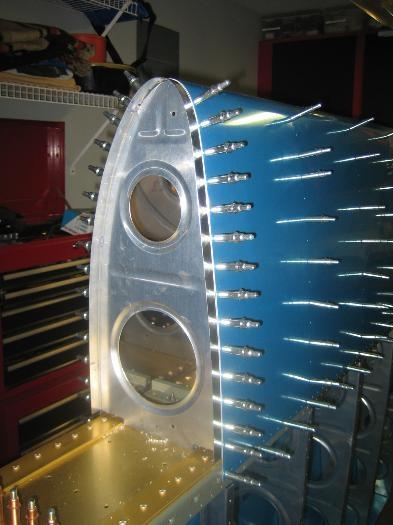
Next, I turned my attention to the leading edge end rib (inboard undrilled rib) and the joint plate that provides an attach point between the leading edge assembly and the tank. I began by marking the rivet hole locations to allow fluting between the holes. The rib was then straightened by first ensuring the flange was 90 degrees to the rib web and then fluting.
Per the instructions, the rib was inserted in the leading edge skin and the main spar holes used as guides to match drill the rib. Once clecoed, the rib was eased into place. The joint plate was deburred and dressed with the scotchbrite wheel, the rivet line marked, and then inserted between the rib and skin. This took some time and coaxing but it went together ok.
The entire skin in the leading edge assembly was matched drilled to the spar and ribs. The clecoes were left in place and I moved on to the tank.