Brief Description: Continue intial assembly of right elevator
Clecoed the right elevator skin (E-701-R) to the elevator skeleton (the skin goes on top of the counterbalance skin (E-713).
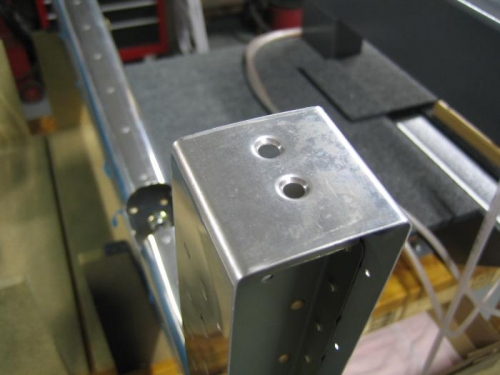
Removed the clecos holding the root rib (E-709) to the spar and then clecoed/drilled the elevator horn (WD-605-1-R) to the spar and root rib.
Match drilled the E-701-R skin to the understructure. Disassembled the elevator.
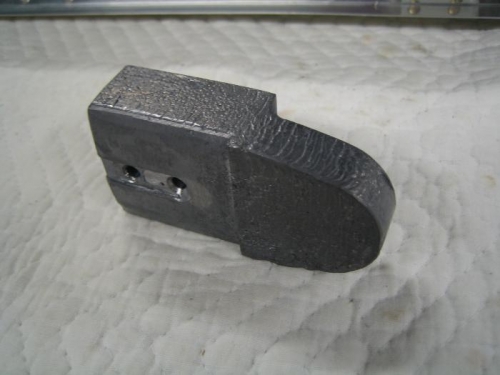
Dimpled the counterbalance skin for the screw heads that will attach the lead weight. Machine countersunk the lead weight for the dimples in E-713.
Machine countersunk the root rib attach holes on the forward face of the spar so E-709 and E-702 can be riveted with flush heads. This allows the elevator horn to be mounted flush with the forward face of the spar (E-702).
Beveled the inboard and aft edges of the counterbalance skin (E-713) where it overlaps the spar and rib flanges. This provides a smooth transition between the counterbalance and elevator skins.
Deburred, dimpled and primed components as appropriate.
Riveted the counterbalance ribs together (E-703 and E-704). Riveted the reinforcement plates (E-610PP and E-611PP) and platenuts to the spar (E-702). Riveted the root rib (E-709) to the spar web (flush heads forward). Riveted the counterbalance ribs (E-703 and E-704) to the spar web (E-702).