Brief Description: Final installation of elevators
After installing the interior panel where the heater vent is located I had the nagging thought that I might not have enough room to get the flight controls torque tube inserted back thru the center section. Thankfully, I was able to insert the tube by positioning the forward end to the port side and a bit forward of the rudder pedal (VERY CAREFULLY). Anyway the tube was installed successfully.
I then installed the rear stick temporarily and connected the appropriate push/pull tubes. The large tube from the bellcrank to the elevators was connected and the full range of stick/elevator motiuon was check. It seems ok, the elevator moves stop to stop and the stick does not hit the back of the pilot's seat.
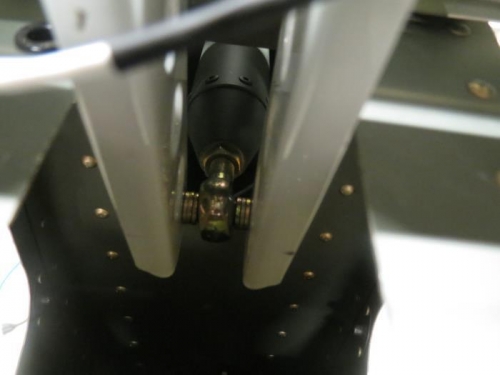
Next, I decided to permanently install the elevators and that meant some tedious work trying to get the two horn bolts with their associated washer spacers in place. It wasn't as bad as I thought it might be but I did have to remove the rudder and vert stab which were temporarily installed. The four elevator hinge fasteners were then installed.
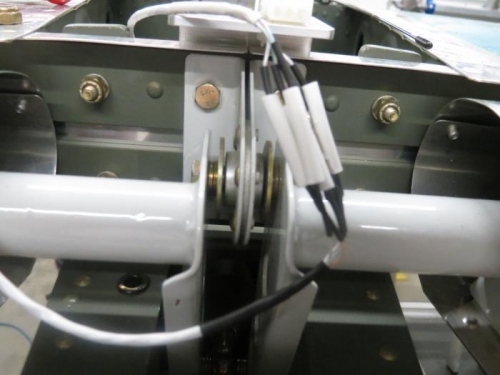
Last task for the evening was testing the trim servo. Since the rear stick was installed, I hooked up its electrical harness, turned on the rear stick enable switch, and hit the "coolie hat" trim switch. IT WORKED! All I had to do was reverse a couple power wires to get the proper up/down movement. I do have to insert the electric wires into the nylon molex plug and shell but tha's easy.