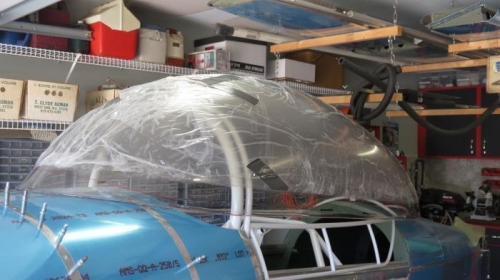
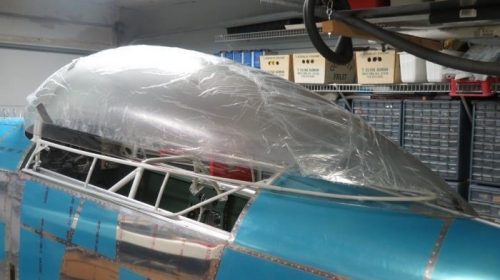
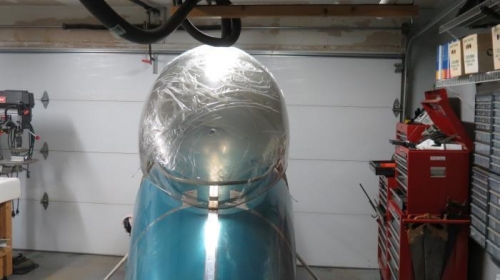
Well, I have to start trimming the canopy sooner or later so I guess today is the day. I began by setting the canopy up on the fuselage with frame in place. I then marked off a small amount of the canopy to be trimmed front and back. I noted the red Sharpie marks from Van's and stayed well short of these marks. My plan is to remove a little at a time and see how the canopy begins to fall into place.
I made my initial marks with a Sharpie but once the canopy was back on my saw horses I used black electrical tape to outline the cut marks. I then used a Dremel with a diamond cutting wheel to make the cuts. After each cut I used a sanding block to smooth the edges and then placed the canopy back on the airframe to check fit. My plan is to work front and back until the canopy begins to come down vertically in place. Then I will begin trimming along the sides.
The photos below is the canopy setting on the fuselage before any trimming has been done (only the flange has been removed).