Brief Description: Parking brake control cable installation
The task list in the shop today began with finalizing how the parking brake cable will be routed and secured to the airframe so the parking valve operation will be positive and reliable. I located the parkingT-handle on the upper right side of the instrument panel. The cable makes a short run up and over to the center of the panel and attaches to the cross-member just behind the baggage compartment. It is routed vertically and is attached with two Adel clamps, one to the cross-member and the second on the mounting bracket for the parking brake valve. I had to make some small bushings for the mounting bolts to ensure the cable is straight and does not bind during full movement of the valve actuator. I will add some pictures later.
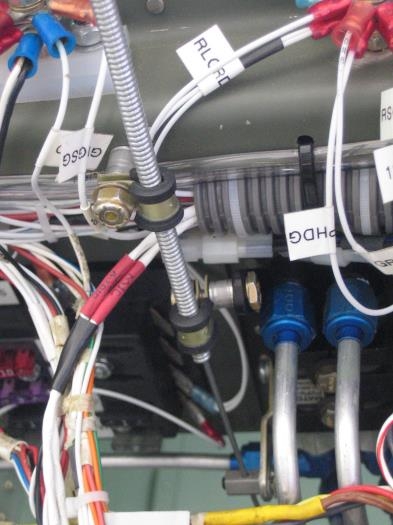
After completing the parking brake issue I moved on to studying my electrical wiring problem. There is very little room behind the instrument panel for all the wiring. I have a full panel of traditional instruments and each one has its own wiring harness that has to be installed in addition to all the airframe wiring. Many of my instruments, especially radio trays, extend 9-10" behind the panel. That means all wiring bundles and harnesses must be routed and tied as far forward as possible. It is obvious that the Adel clamp method suggested by Van's plans is not going to work with my rather extensive array of instruments, indicators, switches, and radio trays. Also, the Adel clamps make it much to difficult to maintenance the wiring bundles and harnesses. I need an alternative approach and it's going to be a challenge. I think the wiring would be much simpler had I installed an all glass cockpit.