Brief Description: Installed static & trim wire and the FPS component
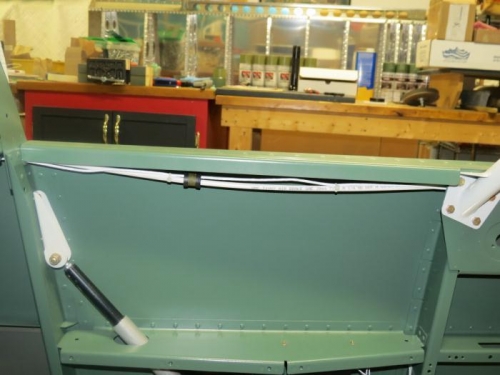
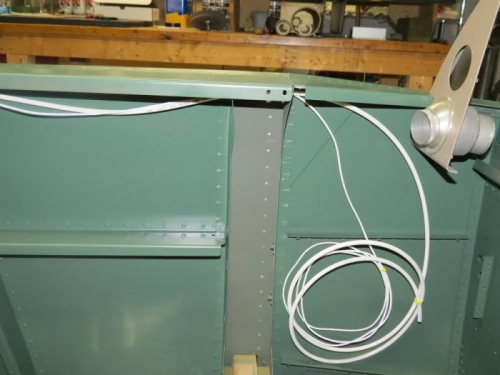
Today I finished routing the static line and elevator trim wire up to the instrument panel. This required some holes to be cut through various bulkheads up under the canopy rails to hide the tubing and wire. The holes, of course, required snap bushings and/or grommets to protect the wiring. Some of these same holes will be used in routing the wires for the front and rear map lights. You will see a cushioned clamp in image 1 below. This will eventually be fastened up under the canopy rail so the tubing and wire will be out of sight. I will also hang the tubing/wire up under the rail in the front cockpit using a similar clamp (should be able to use one of the rail mounting screws to secure the clamp). I think this will make a nice installation.
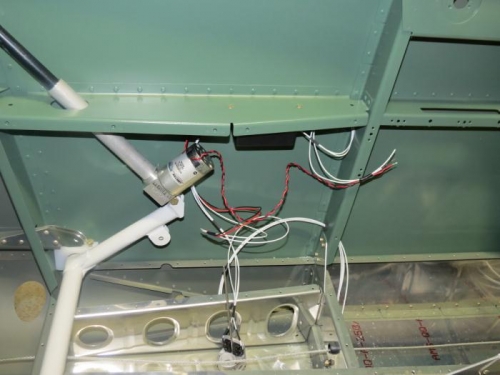
I also temporarily installed the Flap Positioning System components to check any interferences and get the wire lengths for extend, retract, power, and ground. A few other wires from Van's basic RV-8 wiring kit were routed as well. Again, once the wires are all trimmed to final length and connectors added, they should look good.