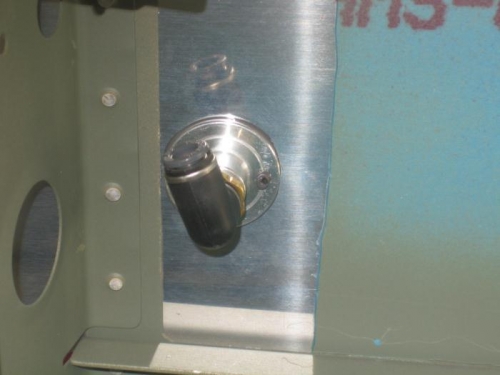
I began the work session today by removing the rear upper fuselage skin and storing it out of the way. Next, I located the two static air vents and match drilled them to the fuselage side skins. The two rivet holes were then dimpled with a set of close quarter dies.
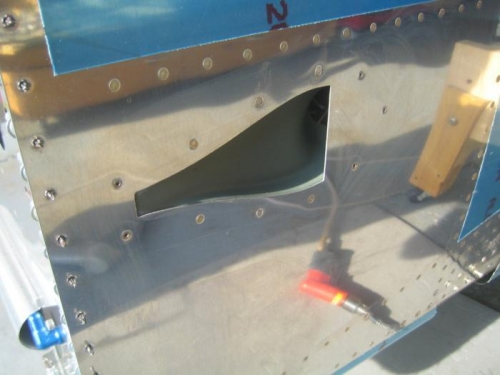
Next, I mixed up some tank sealant to use around the NACA fresh air vent up front and the static air vents. Using a popsicle stick I coated the mating surfaces of the NACA and static vents and clecoed them to the fuselage. I attached the NACA vent with six solid rivets (three top and bottom) and then used flush cherry rivets for the two forward and three aft rivets. I opted for the blind rivets because these five were difficult to buck and I didn't want to risk damage to the skin.
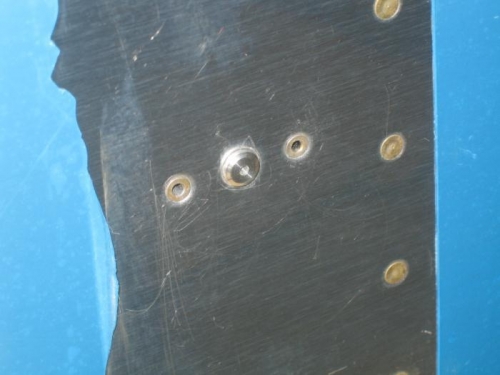
I also opted for cherry rivets for the static vent for the same reason. The static vent protrudes just enough thru the skin to interfere with the flush rivet set even though bucking the rivet would have been easy enough. Again, I didn't want to risk a bad rivet job and the blind rivets won't be noticeable once the skin is polished and or polished.